How to Restore Old Photos: The Honest 2026 Guide
Learn how to restore old photos at home with your phone and a free AI tool: scanning tips, fading fixes, and an honest look at what AI gets right and wrong.
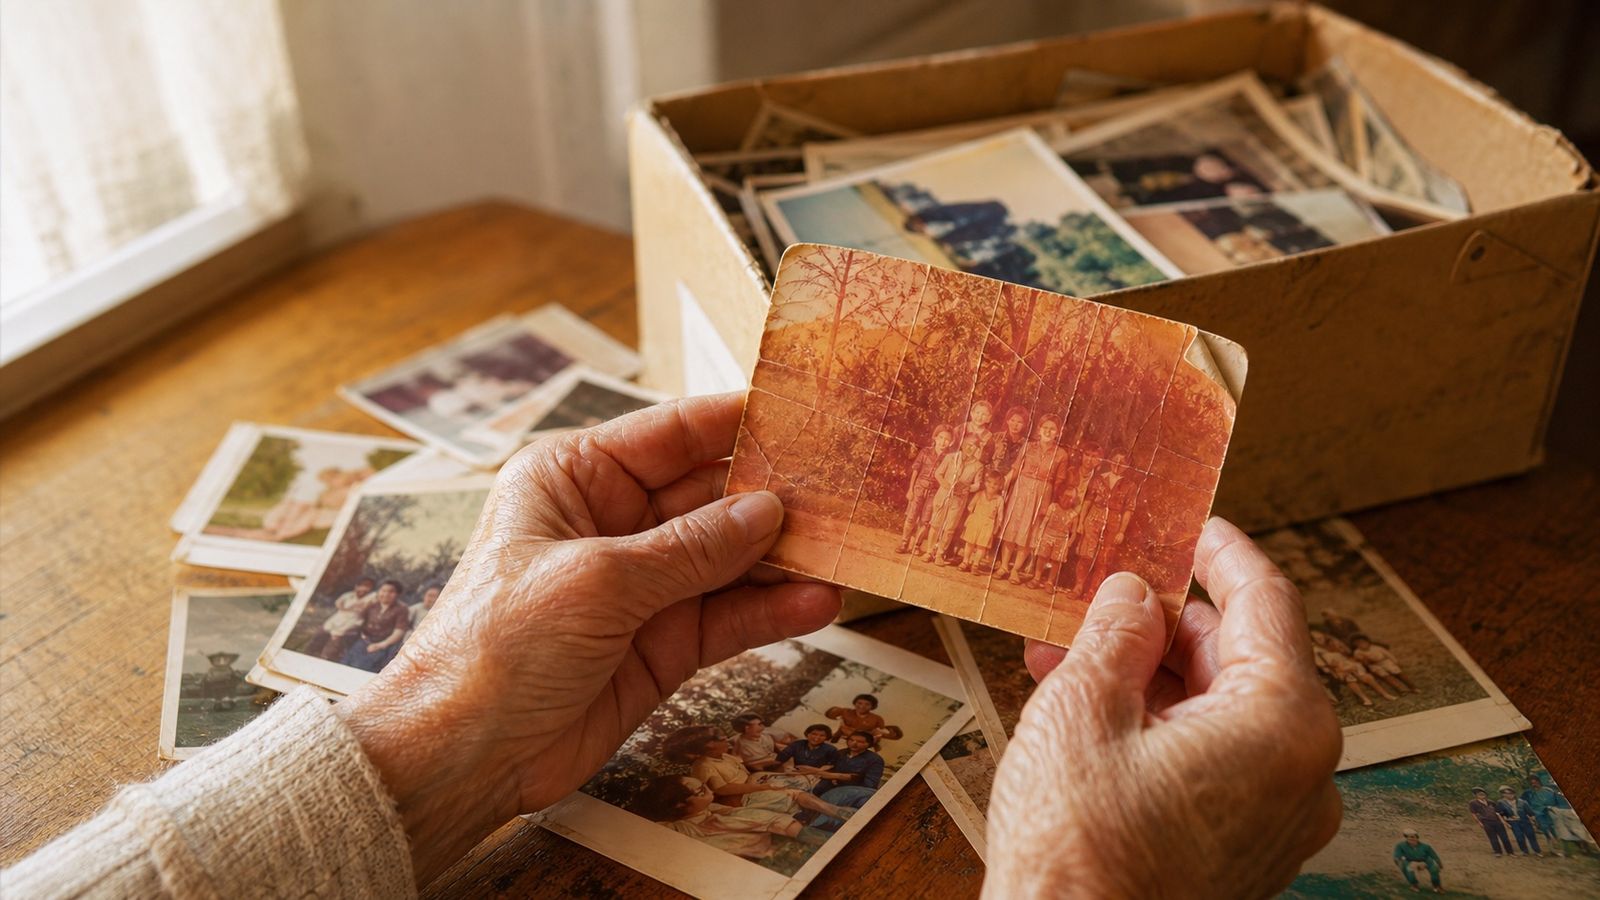
I run a photo restoration website, so you would expect me to open by telling you this is easy. Here is the strange part: the question I get most is not about pricing or file types. It is the same squint, over and over, usually from someone holding a print they will not let out of their hands. Could it actually fix mine?
Fair question. The photos people want restored are never stock images. They are the one picture of a mother at nineteen, orange as a sunset, creased down the middle, living in a shoebox that has survived three moves. Nobody wants a computer experimenting on that.
So this guide does two things. It shows you exactly how to restore old photos, start to finish, with nothing but a phone and a free tool. And it stays honest about where this technology is genuinely good, where it fails, and what I would tell my own family to watch out for.
Quick Answer: To restore old photos, photograph or scan the print (600 DPI if you can), upload it to a free AI tool like the BestPhotoAI photo restorer, wait about 30 seconds, then compare the result against the original before saving both. No Photoshop, no $40 per photo, no three-week wait.
First, the Uncomfortable Part: Your Photos Are on a Timer
I did not believe this either until I read the preservation research. The University of Illinois preservation program puts it in one blunt sentence: a color print made before the mid-1980s "will invariably lose its image in time, even in dark storage." Not might. Will. The dyes in those prints break down on their own, and the shoebox does not stop it, it only slows it down.
It gets worse. Henry Wilhelm, who spent decades testing photographic paper, found that the Kodak paper most American family photos were printed on had a predicted display life of a little over 12 years. Twelve. The fridge photos of your childhood were fading before you finished high school. And if your box lives in an attic, heat speeds everything up: the Image Permanence Institute found film that lasts decades at room temperature can start degrading within a year at attic temperatures.
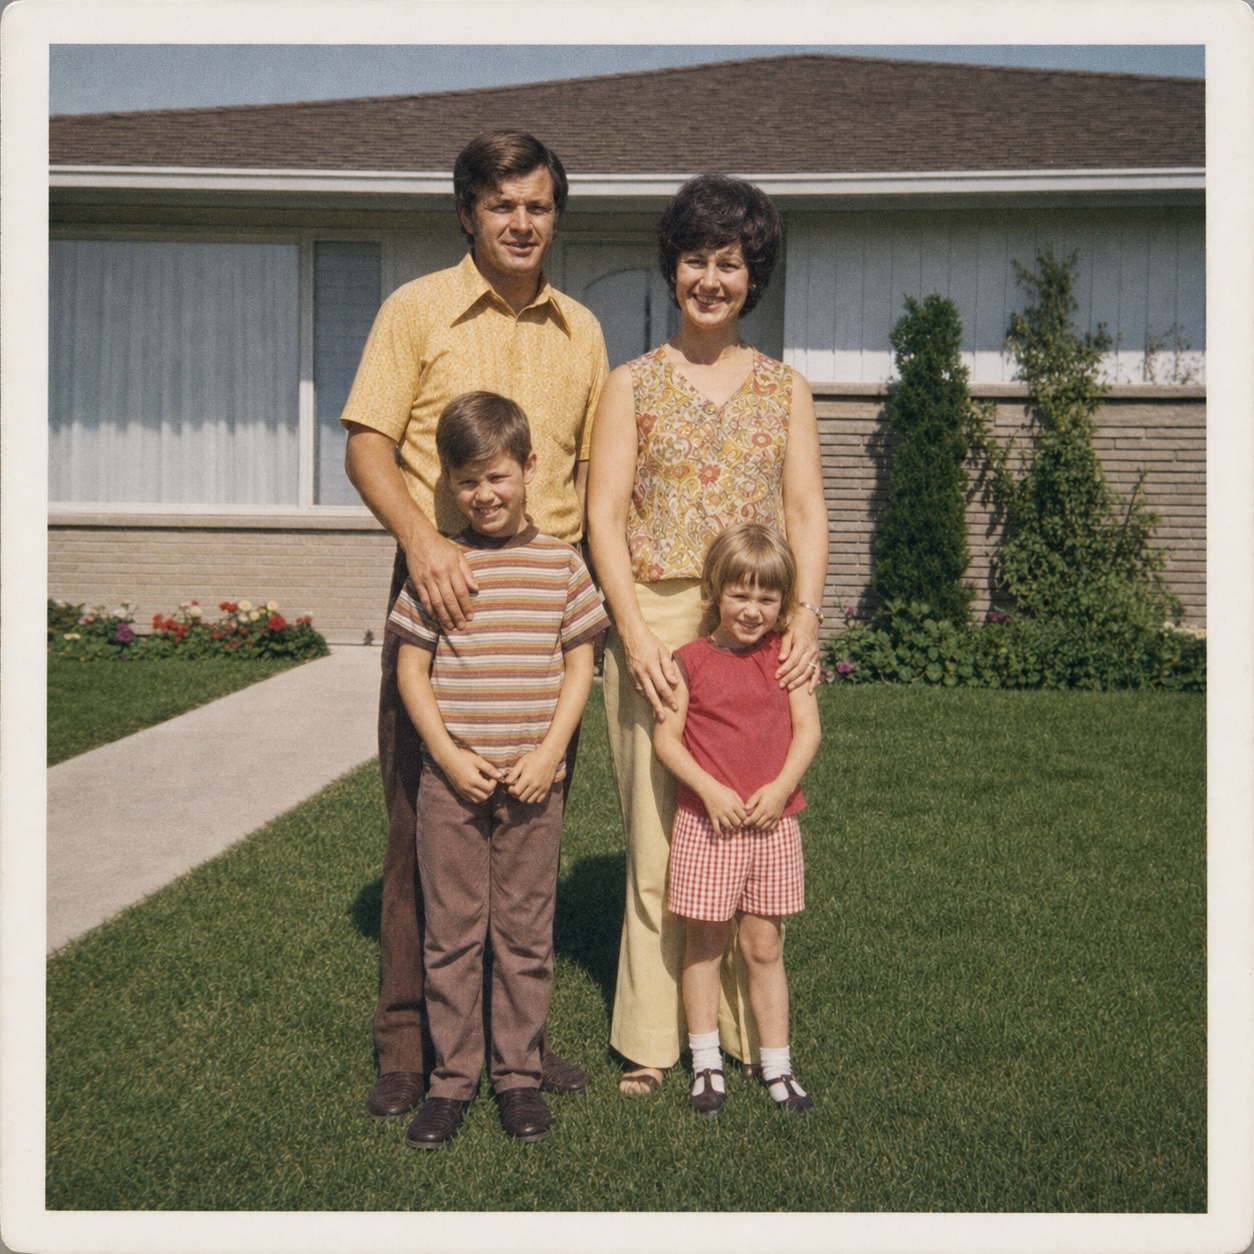
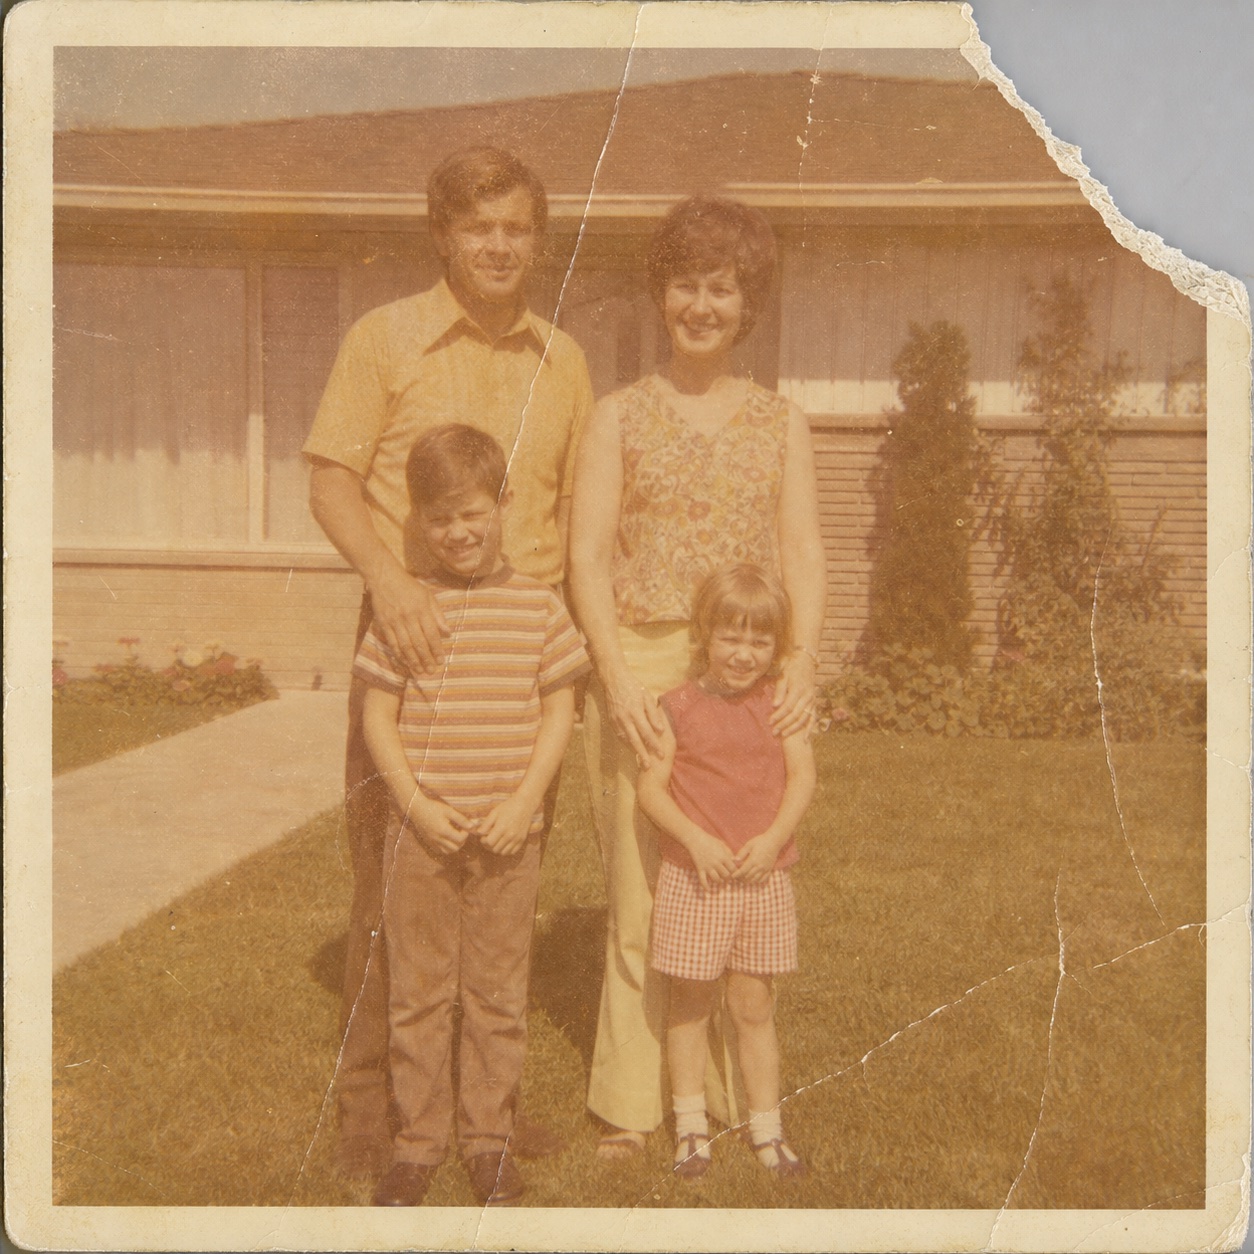
Drag the slider. This is what five decades in a shoebox does, and it keeps going.
Predicted display life of the Kodak paper most family photos were printed on
Of people have photo albums they never open, per an 11,000-person Epson survey
Of Americans said the photo album is the first thing they would grab in a fire
That last number is the one that gets me. In the most-cited US survey on it, people said they would save the album before the money, before the laptop, before the jewelry. We know these photos are the irreplaceable thing in the house. We just assume they will wait for us. Chemically, they will not.
What Restoring Old Photos Used to Involve
Until a few years ago you had exactly one good option: hand your print to a professional restorer. And let me say this clearly, because I am about to compare prices with them: good restorers are genuinely skilled. Some spend a full day rebuilding one badly damaged face by hand. The problem was never their craft. The problem is arithmetic.
We checked the published price lists of 17 restoration services this month. The typical rate for a moderately damaged photo is $35 to $45. Severe damage runs $100 to $350, and some studios quote past $700. Turnaround is days at the fast shops and up to six weeks at the slow ones. One well-reviewed service quotes 15 to 30 business days as standard. Walgreens quietly dropped its photo restoration service entirely in 2024, so the drugstore shortcut is gone too.
Professional restoration
- • $35 to $45 per photo for typical damage
- • $100 to $350+ for severe damage
- • Colorization is usually $10 to $75 extra
- • Days to six weeks of waiting
- • Best choice for museum-grade work on one photo
AI restoration
- • Free to try: see your result before paying anything
- • About 30 seconds per photo
- • Colorization included as an option
- • Handles a whole shoebox in an afternoon
- • Best choice for everything short of museum work
One shoebox holds roughly 600 photos. Restored by hand at the going rate, that is
More than a lot of people paid for their car. This math, not the craft, is why most shoeboxes stay shut.
Could software really replace that? For a long time my honest answer was no. The early tools smoothed faces into plastic and everyone could tell. What changed in the last couple of years is that restoration models stopped guessing blindly and started reading the actual photo: the fabric, the light, the way film grain behaves. The results went from "impressive for a computer" to "wait, show me the original again." That second reaction is the one worth testing for yourself, so let me show you the whole process.
How to Restore Old Photos, Step by Step
Five steps. The first one is the only one that involves any effort, and it is the one most guides skip.
Get the photo into your phone
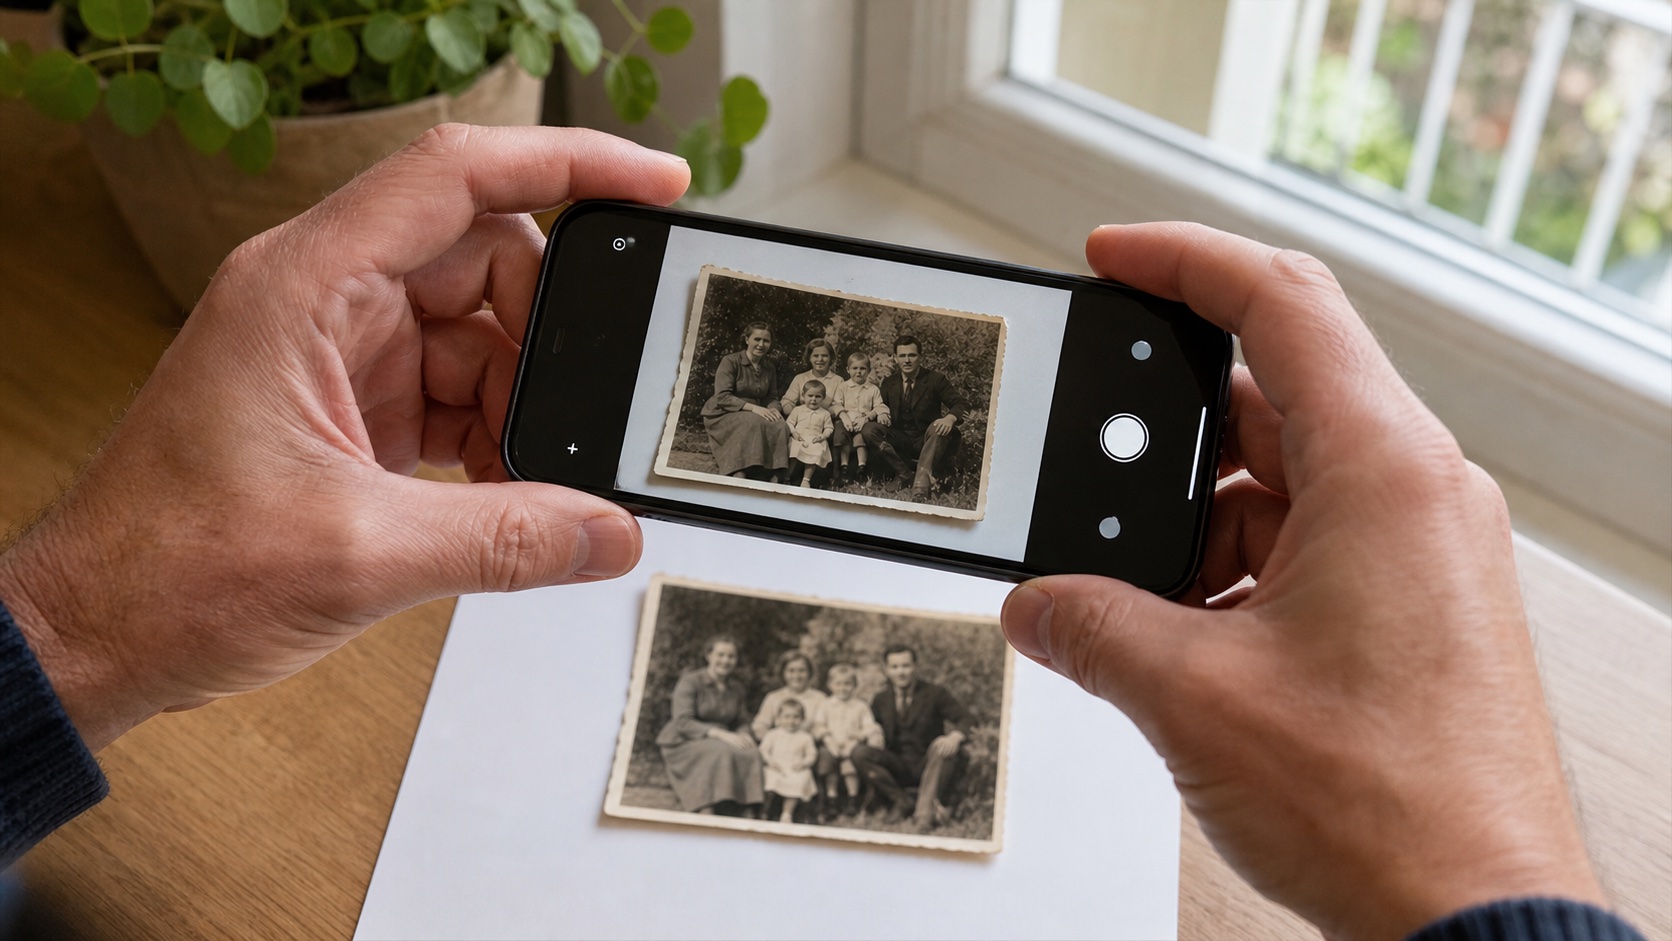
You do not need a scanner. Lay the photo flat on a plain sheet of paper near a window, turn the flash off, hold the phone directly above it, and fill the screen with the photo. Daylight, no flash, straight on. That is the entire technique.
If you do have a flatbed scanner, use it at 600 DPI. More real detail in means less guessing later.
One warning worth reading twice: if a photo is stuck to album plastic, frame glass, or another photo, do not force it. The National Archives specifically warns against peeling photos out of those sticky "magnetic" albums, and the Red Cross says never pull apart wet photos that have fused together. Photograph it as it sits, stuck and all. A photo taken through glass can be restored. A photo torn in half getting it out of the frame is a different conversation.
Upload it to the free restore tool
Open the restore photos tool and upload the picture you just took. The only real decision is whether to colorize a black and white photo or keep it as it is. When in doubt, keep it black and white first; you can always run a colorized version after.
Drop your photo here, or tap to choose one
Upload PhotoThe whole flow. There is no step where you learn Photoshop.
Wait about 30 seconds
While you wait, the model is doing what a restorer does by hand: rebalancing the faded dyes, filling scratches and creases with what the surrounding image says should be there, and sharpening detail. The difference is the timescale. What took a restorer an afternoon now finishes before your tea does.
Check the face. Really check it.
This is the step that separates a good restoration from a convincing fake, and it takes ten seconds. Put the result next to your original and zoom in on the face. Ask one question: is this still them? The eyes, the particular way they smiled, the mole your family argues about.
Most of the time the answer is yes. When it is not, do not accept it. Run the photo again, or switch to a different model; every model reads damage differently, which is exactly why we offer more than one. You are the only quality control that matters here, because you are the only one who remembers the face.
Save both versions, then print one
Save the restored photo and keep your original scan next to it. Two copies, two places: your phone and a cloud drive, or a cloud drive and a relative's inbox. The Red Cross gives the same advice for exactly the reason you would guess: a digital copy is the only version of a photo that survives a house fire.
Then print the restored one. Our free image upscaler will enlarge it to print size. A restored photo that lives on a wall gets looked at. One that lives in a downloads folder joins the 86% club.
Try It On One Photo
Free, no credit card, about 30 seconds.
So, Could It Actually Do It?
Here is the test photo from the fading demo above, the kind of print people upload every day: fifty years of orange drift, creases across the faces, a corner missing. We ran it through the same free tool from the steps you just read. Drag the handle and judge for yourself.
Drag the handle. Same print, about 30 seconds apart.
Look at what matters in that comparison. The orange cast is gone and the lawn is green again, sure. But the faces are the same faces. The boy's squint survived. The mother's smile survived. The torn corner was rebuilt from the roofline and sky around it, which is the kind of repair that is genuinely boring for AI and used to be an hour of hand work. That is the whole trick: the best restorations are the ones with nothing interesting to point at.
The Questions People Are Actually Asking
Before writing this guide we read nearly 2,000 negative reviews of photo restoration apps. Not ours, the whole category. If you are hesitating to upload your photo, your reason is probably one of these four, so let me answer them the way I would across a kitchen table.
"Will it change her face?"
This is the fear with the most heartbreaking reviews behind it. One person wrote that an app "replaced my daughter with a new child." Another paid to fix scratches on a photo of his late father and wrote that "instead of removing the scratches it literally removed his teeth." These are real failures and I am not going to pretend otherwise.
Here is what is actually happening: when a face is tiny or badly blurred, the AI has almost no real detail to recover, so it invents a plausible face instead. The fix is the check in step 4, plus a tool that lets you run the photo again with a different model instead of being stuck with one guess. And the honest limit: a face smaller than a fingernail in a group shot is where every tool, including ours, is most likely to guess wrong. Compare before you trust.
"What happens to my photo after I upload it?"
The three things people actually want to know: your photo is visible only to you, it sits in your own private gallery if you make an account, and you can delete it whenever you want. Your grandmother's photo is not going on a billboard. The full details are in our privacy policy, which I encourage you to actually read, because the apps with the worst reviews are the ones nobody read the fine print on.
"Isn't this faking history?"
Genealogists worry about this, and they have a point. One of them put it better than I could: "There's definitely a place for it, but there is a line you shouldn't cross without informing the viewer."
So here are the house rules I follow with my own family's photos, borrowed from the genealogy community: keep the original print, keep the untouched scan, and when you share the restored version, say it is restored. The restoration is for the mantel and the group chat. The original is the record. You need both.
"Why do these apps all want my card before showing me anything?"
In those reviews, the single biggest complaint was not bad restorations. It was billing: surprise weekly charges, trials that charge anyway, and apps that want a subscription before they will even show you what they did to your photo. Twenty-seven percent of everything people complained about. We went the other way: our tool is free to try, and you see your restored photo before any payment conversation happens. If an app needs your card before it will show you a result, the tool is not the product. You are.
What Happens After the Download
My favorite part of running this site is not the technology at all. It is what people tell us they did with the photo afterward, because it is never "saved it to a folder." It is the same three scenes, over and over.
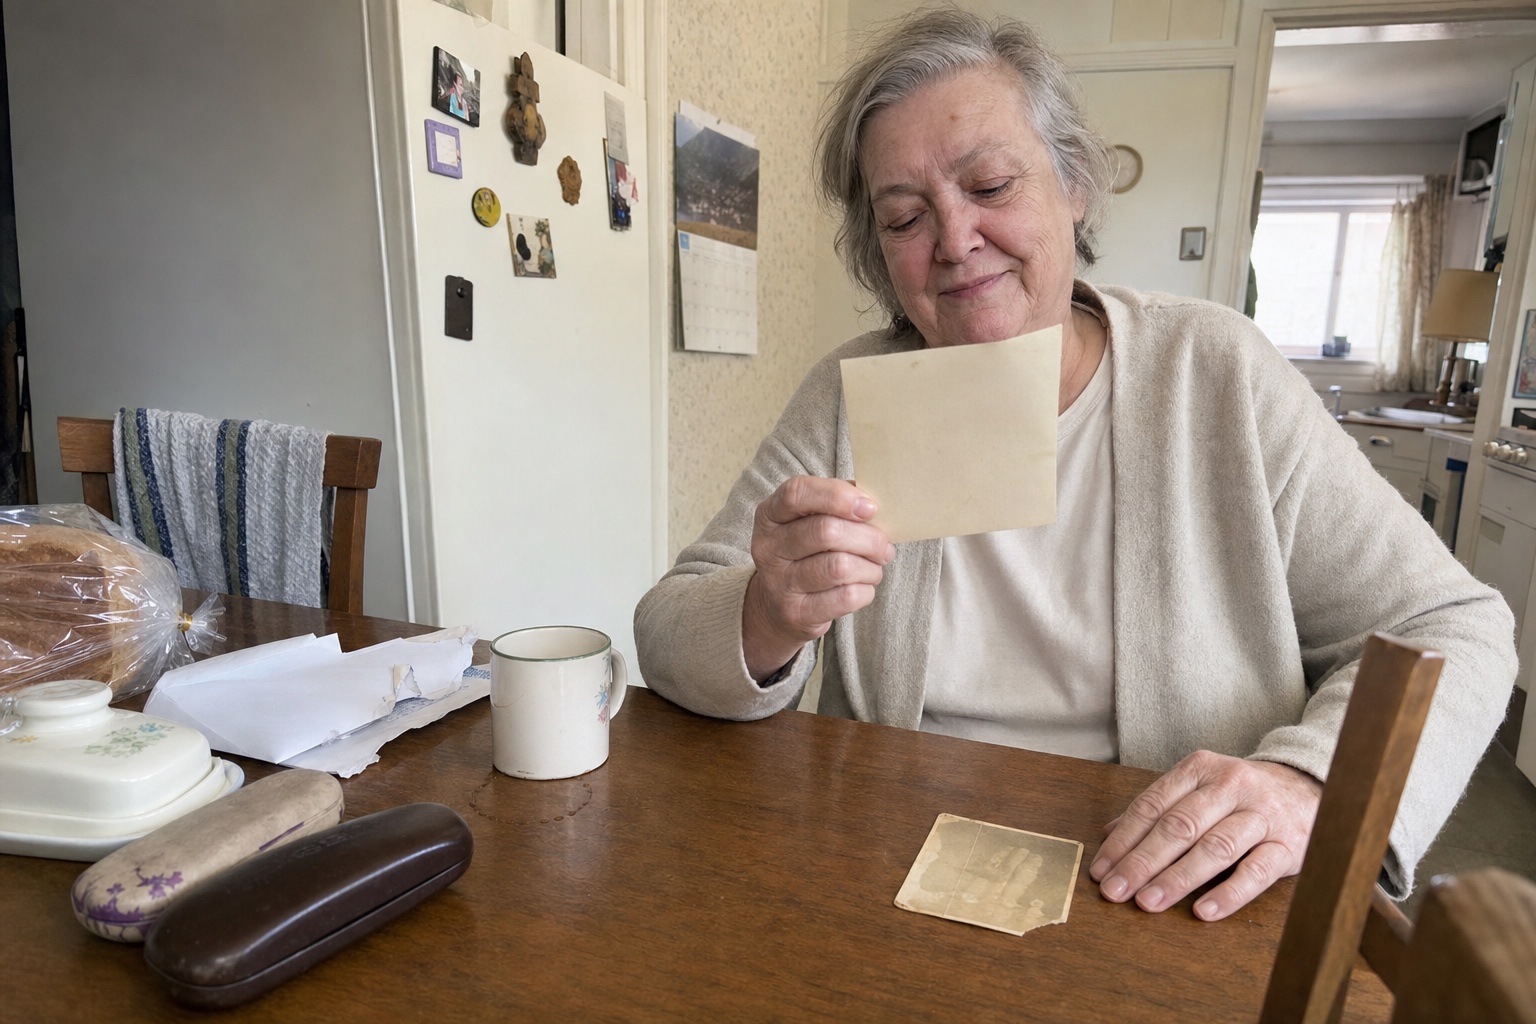
The kitchen-table comparison. The restored print in one hand, the faded original on the table, and a long quiet minute between them. This is usually a photo of a parent.
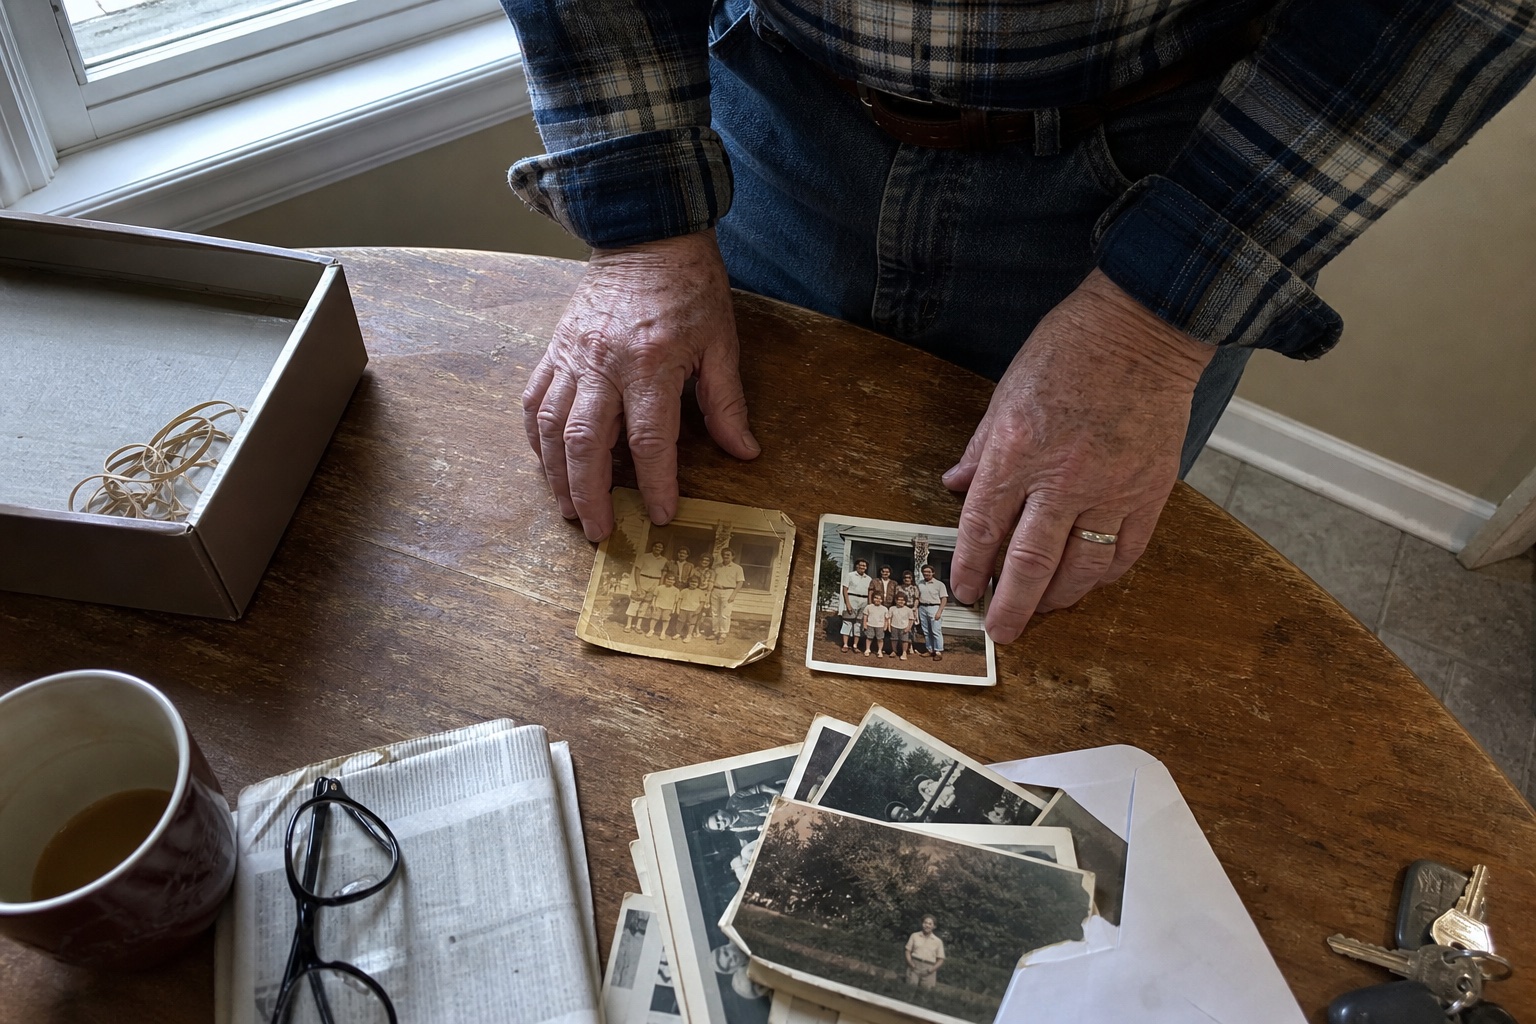
Side by side on the table, squared up with two fingers, before the rest of the shoebox gets its turn. One photo is never where it ends.
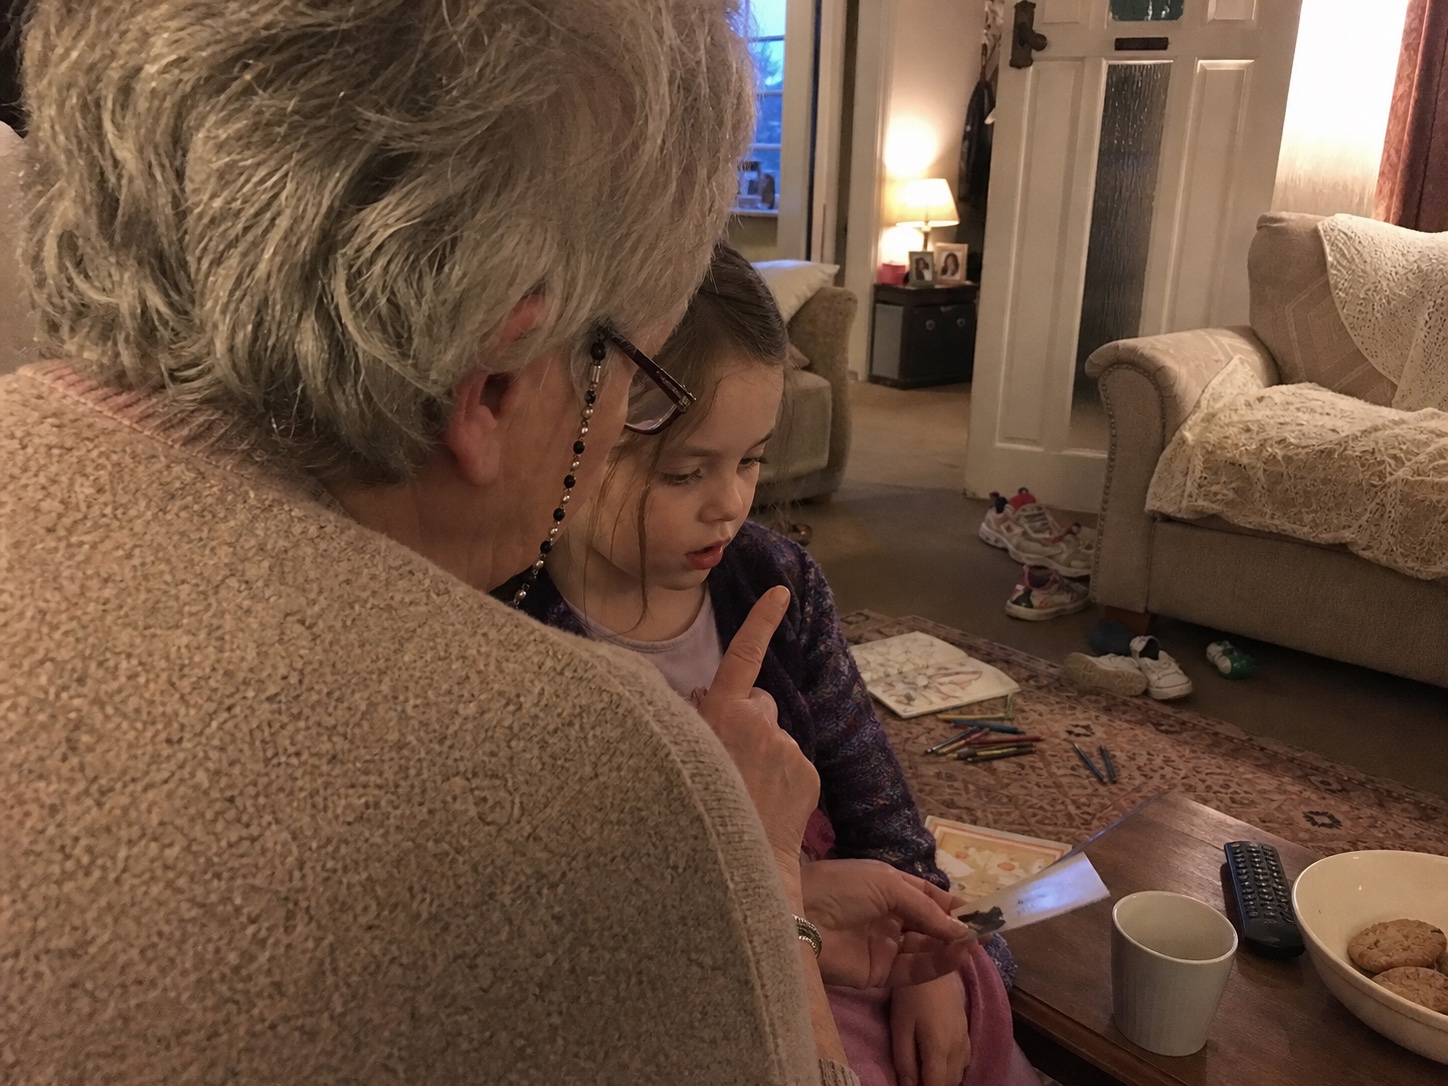
And the scene the whole thing is actually for: a grandchild meeting a great-grandparent for the first time, mid-story, in a photo that was too far gone to show anyone a week earlier.
The Step Nobody Expects: Watching Them Move
One more thing, and I debated including it because it splits every room I mention it in. Once a photo is restored, you can animate it: a few seconds of video where the person in the print turns their head, blinks, smiles.
When MyHeritage launched this idea in 2021, people animated a million photos in the first 48 hours and 80 million within a few months. The reactions on their own blog tell you everything about why: "I just showed my grandmother and she broke down crying. This is amazing!" And plenty of other people find the same clips unsettling and want nothing to do with them. Both reactions are completely fair, and I have had both, about different photos.
My suggestion is not to decide in advance. Restore the photo first, because that is valuable either way. Then, if there is one photo of one person you would give a lot to see move again, try our free animate old photos tool on that one. You will know within five seconds whether it is wonderful or too much. Either answer is allowed.
The Shoebox Is Not Going to Open Itself
Start with one photo. The one you thought about while reading this. Photograph it by the window, upload it, and see what 30 seconds does.
No credit card required • Keep your original, always
Frequently Asked Questions
Can I restore old photos without Photoshop?
Yes. AI restoration handles fading, scratches, creases, and blur automatically. You photograph or scan the print, upload it, and see the result about 30 seconds later. There is no editing step for you to learn.
How much does it cost to restore old photos?
Professional studios typically charge $35 to $45 per photo for moderate damage and $100 to $350 or more for severe damage, with waits from a few days to six weeks. The BestPhotoAI restore tool is free to try, and you see your restored photo before paying anything. Many restoration apps do it the other way around and ask for a subscription before showing you a real result. Either way, the math on a shoebox goes from thousands of dollars to an afternoon.
Can I restore an old photo using just my phone?
Yes. Lay the photo flat near a window, turn the flash off, and shoot straight down so the print fills the frame. A scanner at 600 DPI is better if you have one, but a good phone photo in daylight is enough for a strong restoration.
Will AI restoration change how people look?
It can, mostly on very small or very blurry faces where there is little real detail to recover. Always compare the result with the original, and if a face has drifted, run it again or try a different model. Never delete the original scan.
Can faded color photos from the 1970s be restored?
Yes, and fading is the damage AI fixes most reliably. The orange cast comes from print dyes breaking down at different speeds, and restoration models are very good at rebalancing it. Digitize those prints soon though: the fading continues even in a closed box in a dark closet.
Should I throw away the original after restoring it?
Never. The restored version is an interpretation, and the original is the record. Keep the print somewhere cool and dry, keep the untouched scan backed up, and label the restored copy as restored when you share it. If you want the full argument, read our guide on whether AI restorations change too much.
Ready to Transform Your Photos?
Join thousands of users creating amazing AI-generated photos with BestPhoto