What DPI to Scan Old Photos (Even a Tiny Wallet Print)
Scan for the print you'll make: 1,200 dpi for wallet photos you want to enlarge, 600 for 4x6 and up. Here's the easy math, and why more dpi isn't better.
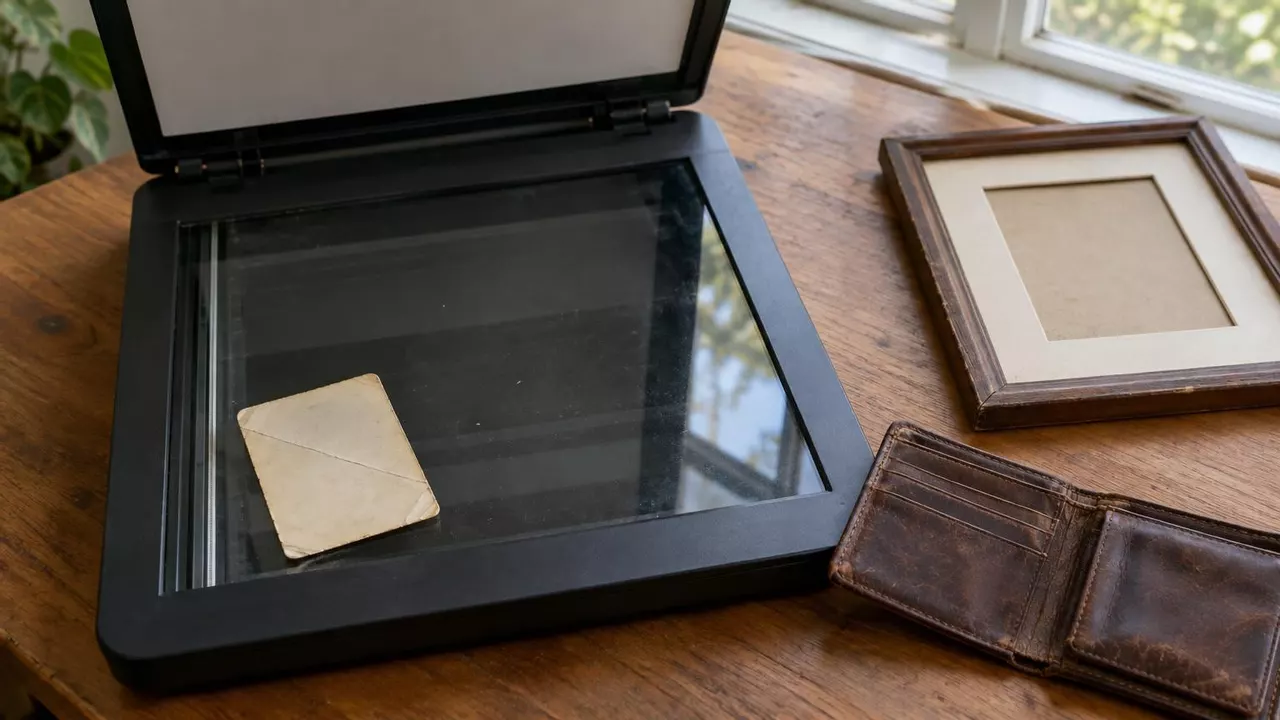
Your dad carried the same little photo in his wallet for thirty years. It's 2 by 3 inches, soft at the corners, with a crease right across the middle.
You want it framed at 8×10. You lift the scanner lid, and the software offers you everything from 300 to 4,800 dpi. Which one?
The short answer
- Wallet size and smaller: 1,200 dpi. Small photos need more pixels per inch to be printed big.
- 4×6 and up: 600 dpi. Enough to print it twice as big.
- 300 dpi only if you'll never print it bigger than it is.
- Skip 2,400 and up for paper prints. You get grain, not more face.
Work backward from the print you want
DPI is how many pixels the scanner records for every inch of your photo. So the right number depends on two things: how big the photo in your hand is, and how big you want to print it.
A printer needs about 300 pixels for every inch of paper to look sharp up close (the Library of Congress uses the same starting point). An 8×10 wants about 2,400 by 3,000 pixels.
Your dad's photo is 2 inches across. To turn 2 inches into 2,400 pixels, the scanner has to record 1,200 per inch. That's your setting. Try your own sizes:
The photo you have
The print you want
Scan at
600
dpi
A sharp 4×6 uses about 1,200 × 1,800 pixels.
Your scan: 1,200 × 1,800.
The math lands right on 600, a setting every scanner has.
Do the same math for a 4×6 headed for an 8×10 and you get 600. It lines up with the Library of Congress advice for families: 300 dpi for regular prints, 400 to 600 if you want to enlarge them. Not sure what size to print? Here are the standard photo sizes.
Why 4,800 dpi won't show you more of his face
A paper print only holds so much detail. Once the scanner has caught all of it, more dpi just looks closer at the paper itself: the grain, the dust, the hairline cracks in the surface.
A Library of Congress imaging expert doubts prints gain “any significant improvement” past about 400 ppi. Watch what keeps growing.
Each doubling makes the file four times bigger. A 2,400 dpi scan of one wallet photo is about 100 MB: slow to scan, slow to back up, and too big for most uploads.
So why 1,200 for the wallet photo? Not for extra detail. It's for the printer: a 2-inch photo needs that many pixels per inch to fill an 8×10 without stretching. If you ever need more than that, enlarging the file works about as well as scanning higher. Here's how making a photo bigger actually works.
One trap on the scanner box: a giant “interpolated” or “enhanced” resolution. That's software inventing pixels after the scan. The number that counts is the optical resolution in the specs. Stay at or below it.
Negatives and slides are the exception. The picture on the film is tiny, so they need around 2,000 dpi or more.
Two settings and one habit
Scan in color, even a black-and-white photo. The Library of Congress tip sheet says grayscale is fine for black and white, and for a clean, neutral print it is. But most old “black-and-white” prints are really brown, cream or yellowed, often with a stain or two.
A color scan keeps all of that, so you decide later what to fix, and turning it gray takes one click. A grayscale scan can never get the warmth back. All it costs you is a bigger file. The federal guidelines archives work from make the same call: black-and-white prints get scanned in color.
Save the full-size scan as a TIFF, or a JPEG at the highest quality. Scan it once, big, and keep that file. It's the original you'll come back to, so keep a second copy somewhere else, like a cloud folder or a USB drive in a different house.
Then upload a copy, never the master. For sharing, email or a photo tool, export a JPEG about 2,000 to 3,000 pixels on its long side. Dad's 1,200 dpi master is about a 26 MB TIFF; the copy you send out is a few MB, and you can make a new one any time.
That size is also what our photo restorer handles best. A giant file doesn't help it: big uploads get shrunk before the repair starts, and the result can even come back smaller.
No scanner at all? A phone photo can work too, if you keep the glare off it.
From the scan to the frame
With the master saved, fix the copy. The restorer can smooth out a crease and bring back faded contrast in a few seconds. Then hold the result next to the original and look hard at his face: the eyes, the smile, the line of the jaw. If something isn't quite him, run it again or ask someone who knew him.
For the frame, a file about 2,400 × 3,000 pixels prints sharply at 8×10. If your restored file comes back smaller, the free upscaler doubles it without adding a watermark (free for files up to 2 MB, 5 MB on a plan).
You can try the photo restorer free, no account needed. Free results are watermarked previews, good for checking the repair and showing family. The clean, full-size file you'd print comes with a paid plan.
Fix the crease, keep the face
Upload a JPEG copy of your scan, about 2,000 to 3,000 pixels on the long side. Try it free; clean downloads are on paid plans.
Quick questions
Is 300 dpi good enough for scanning photos?
For a 4×6 or 5×7 you'll only ever print at its own size, yes. If there's any chance you'll print it bigger, scan at 600 dpi instead.
Should I scan black-and-white photos in grayscale?
Use color. Old black-and-white prints are usually warm or yellowed, and a color scan keeps that tone. You can always turn it gray later; you can't go the other way.
Is a higher dpi always better?
No. Past about 600 dpi a paper print gives you sharper grain and dust, not more detail, and the file grows four times with every doubling.
What dpi for negatives and slides?
Much higher, around 2,000 dpi or more, because the picture on the film is so small.
Images: the face close-ups are simulated from “Beulah Faith, 20, reaming tools on a lathe” by Howard R. Hollem, 1942, Library of Congress, no known restrictions on publication (cropped, resized, paper grain added). The dpi video uses the same simulated close-ups with exaggerated paper grain, and the inches-to-pixels and master-and-copy videos use the same portrait cropped to wallet size. Top image: illustration made with AI. Diagrams and videos, including the frame, scanner, pixel beads and file tile: ours.
Try it on one of your own photos
Most of our photo tools have a free version. Upload a picture and see what it does before you decide anything.