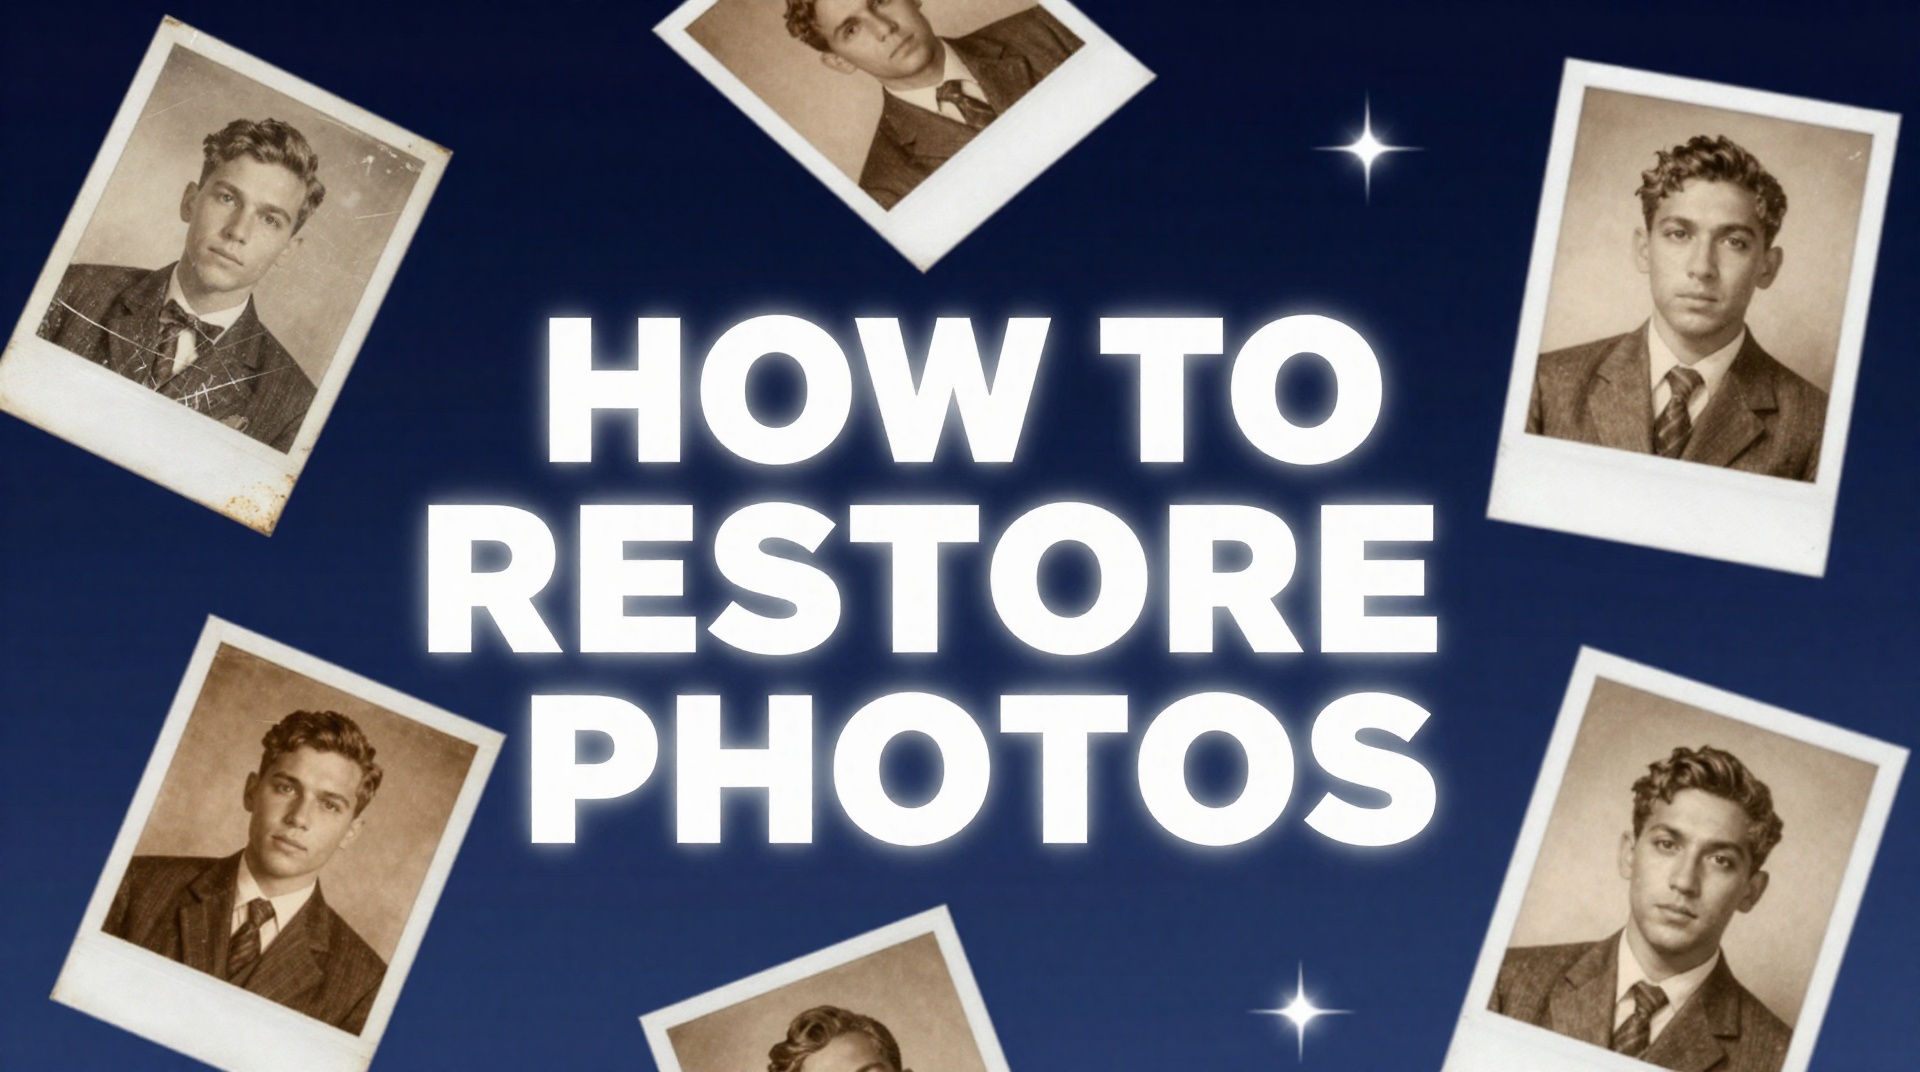
How to Restore Photos with AI: A Practical Guide (2026)
Learn how to restore damaged, faded, and scratched photos with AI for free. Step-by-step guide with before/after examples and scanning tips.
Somewhere in your house there's a photo that's falling apart. Maybe it's yellowed and stuck to the back of a frame. Maybe it went through a flood. Maybe it's been folded in someone's wallet since 1987. Whatever happened to it, you don't need a $200 restoration service anymore. You need about 30 seconds.
Short version: Upload your damaged photo to BestPhoto's free restore tool. It handles scratches, fading, water damage, and creases automatically. No sign-up, no payment. The rest of this guide covers scanning tips, before/after examples, and how to colorize and upscale.
What AI Restoration Actually Looks Like
Before the how-to, here's what you can expect. These are real damaged photos run through AI restoration.
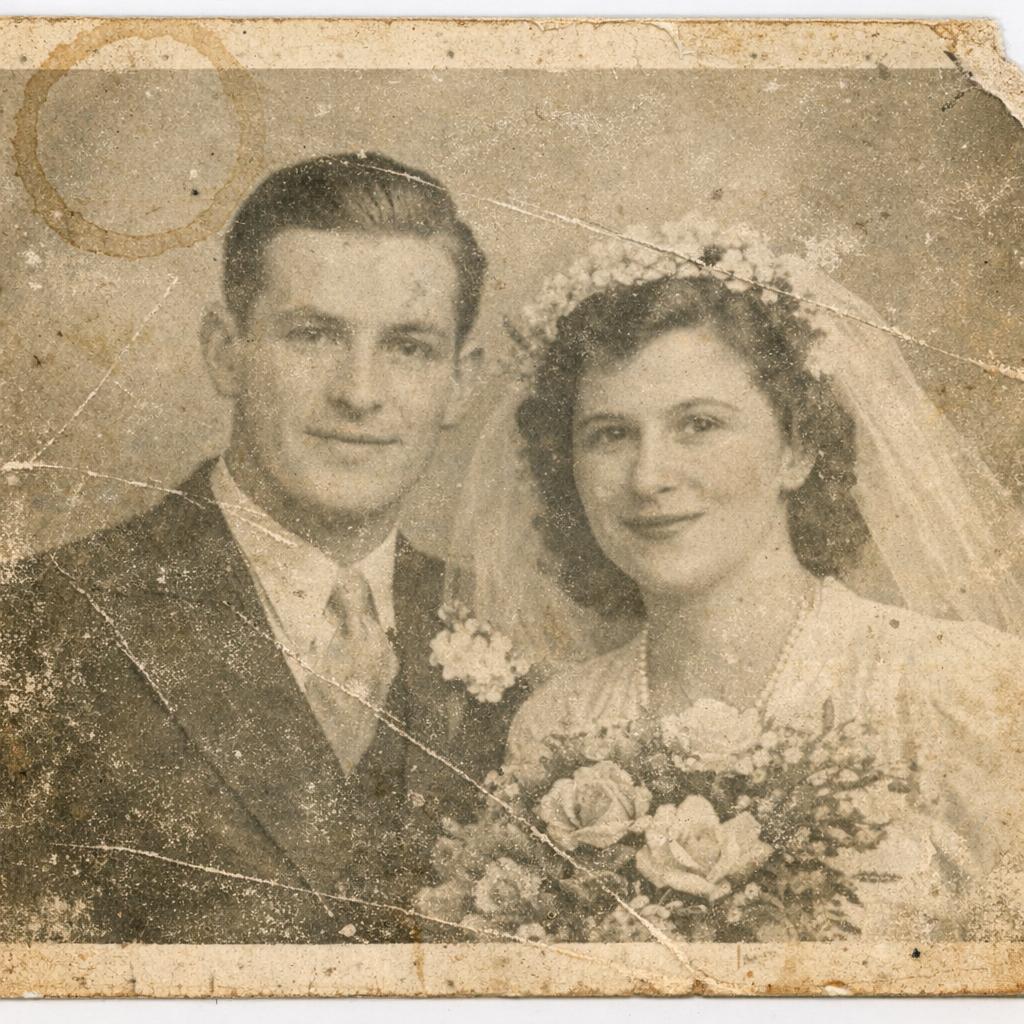 Before
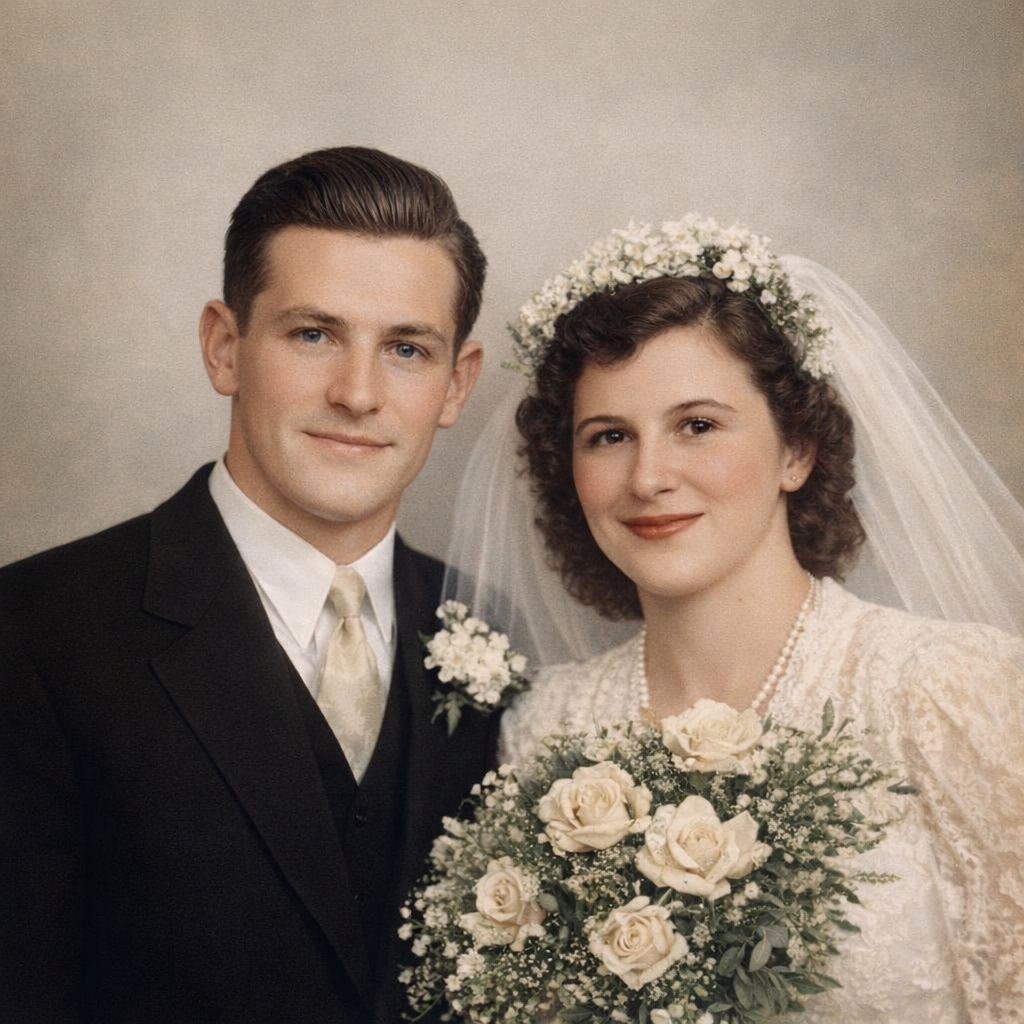 After
AfterFaded Black & White Portrait
A 1940s wedding photo that had lost almost all contrast. One pass brought the detail back and sharpened the faces.
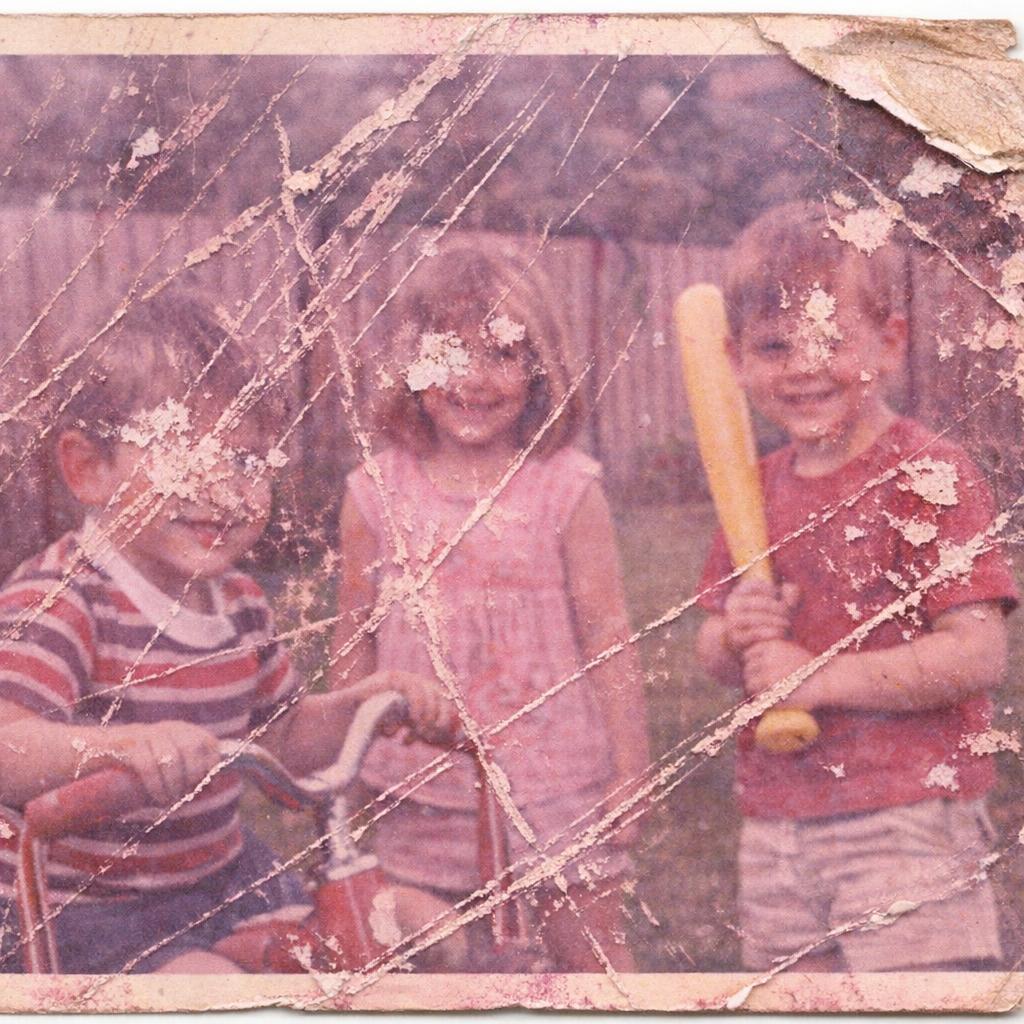 Before
 After
AfterScratched Family Photo
Deep diagonal scratches across faces from years of rough handling. The AI rebuilt the missing skin and clothing texture.
 Before
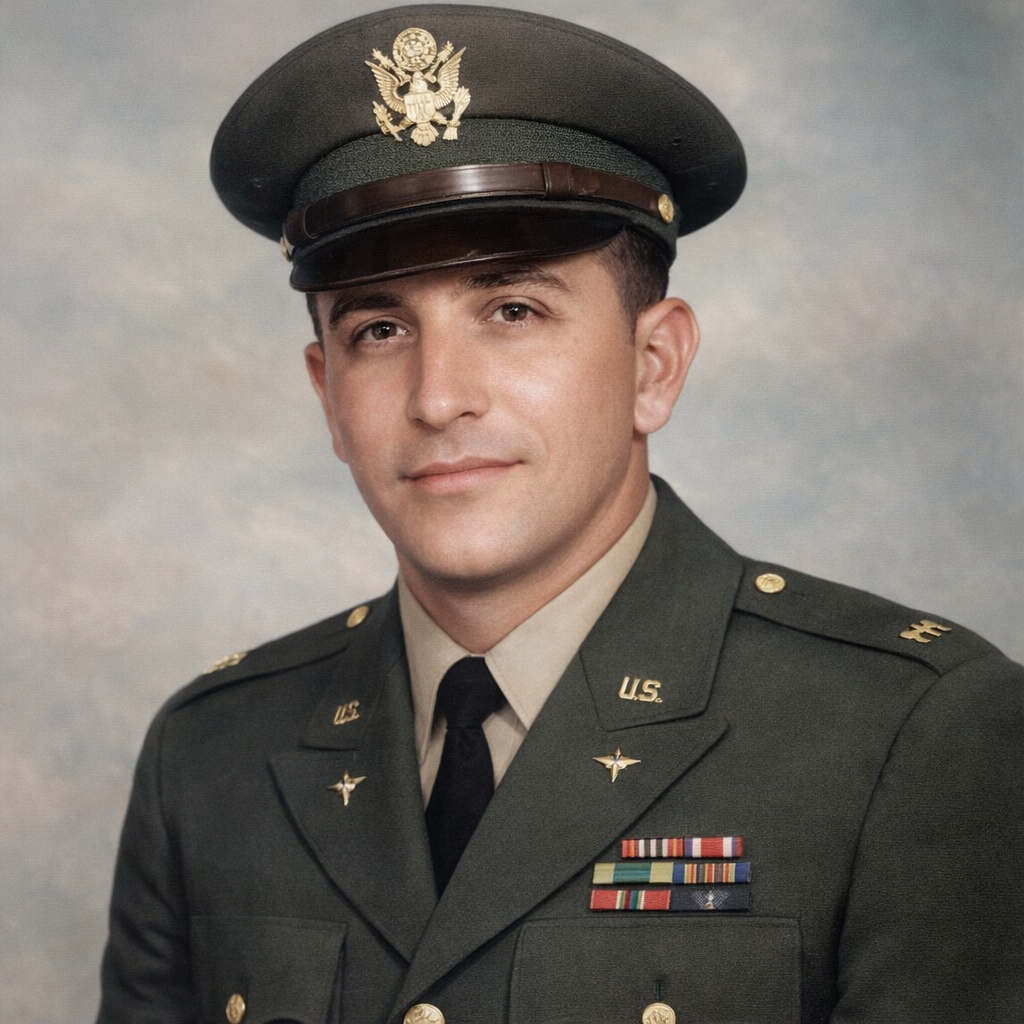 After
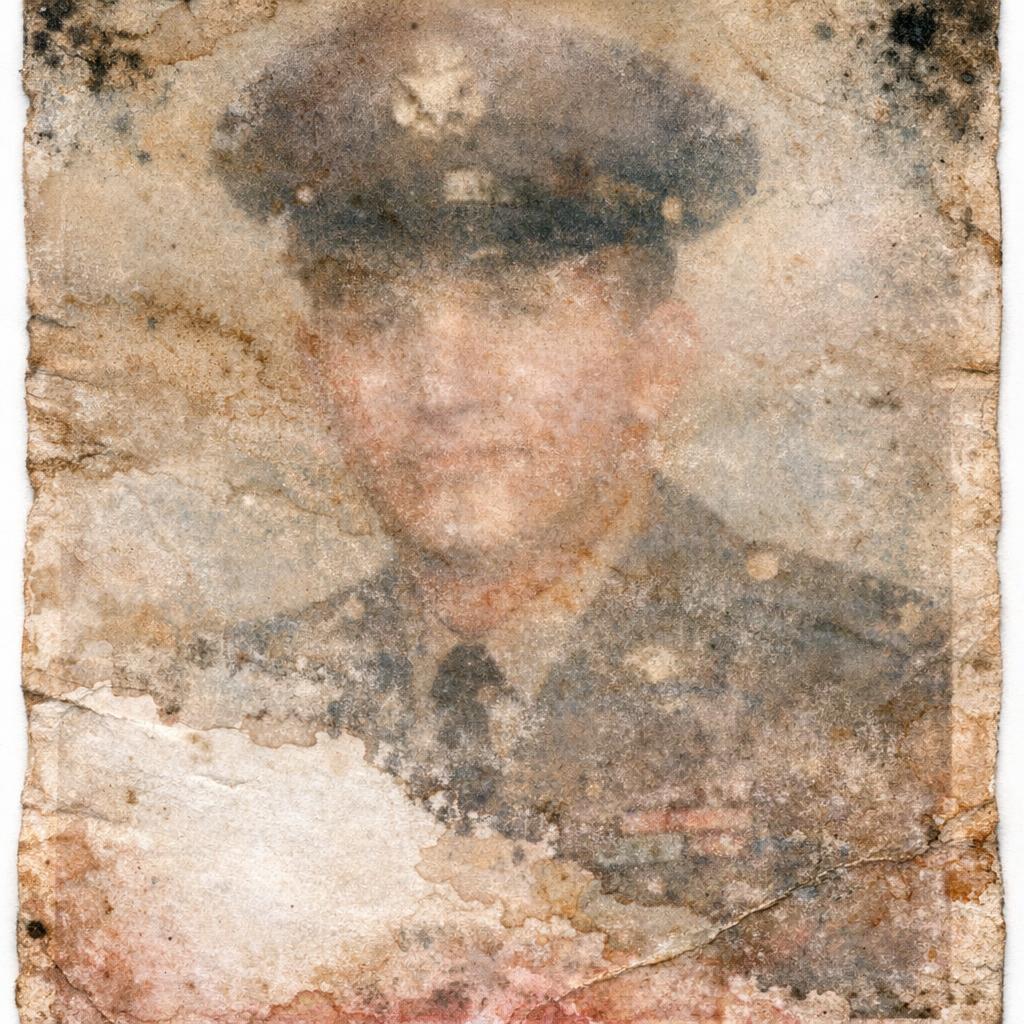
AfterWater-Damaged Portrait
A military portrait nearly destroyed by flooding. The AI removed the stains and reconstructed the washed-out areas.
 Before
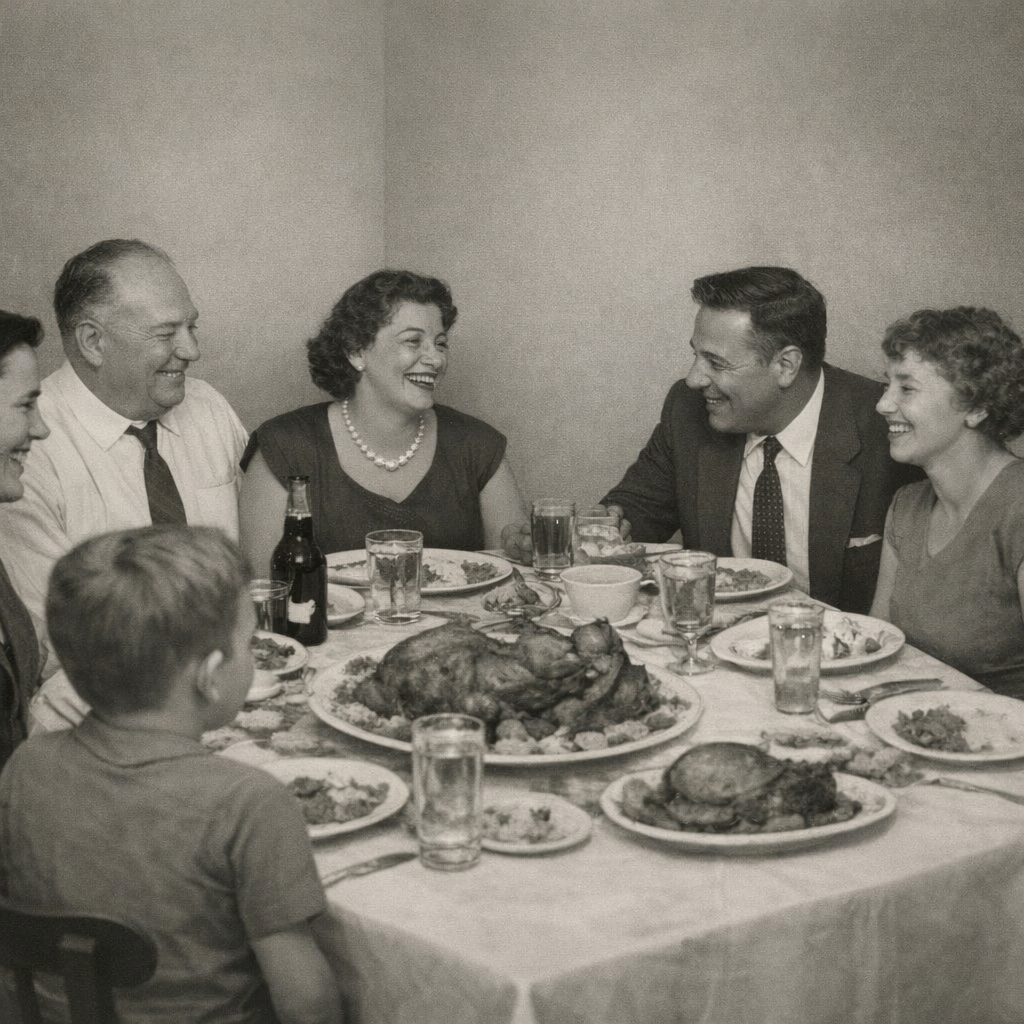 After
AfterTorn Photo Reconstruction
A family dinner photo torn in half. The AI filled in the missing section and blended the seam.
Got a Damaged Photo?
See what AI can do with it. Takes 30 seconds.
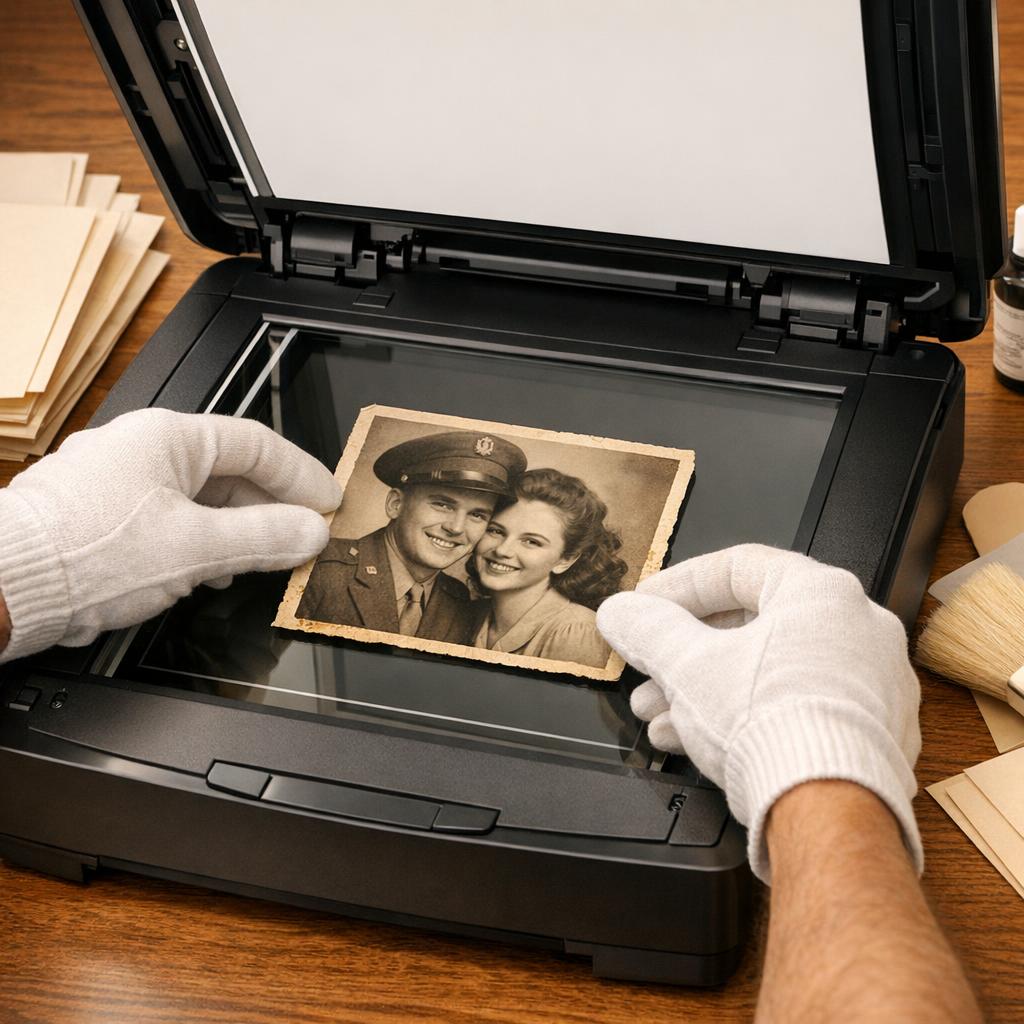
Step 1: Get a Good Scan
This is the part most people skip, and it matters more than anything else. A blurry phone photo of a print gives the AI less to work with. A clean scan gives it everything.
If you have a flatbed scanner, scan at 600 DPI and save as PNG or TIFF. Clean the glass first, because every dust speck becomes a permanent dot. Turn off auto-enhance in the scanner software. You want the raw image, not the scanner's attempt at fixing it.
No scanner? Use Google PhotoScan on your phone. It's free, removes glare automatically, and fixes the perspective so your photo doesn't look like a trapezoid. Shoot in bright, even light. Next to a window works well. Avoid overhead lamps that throw shadows across the print.
Step 2: Run It Through the Restore Tool
Open the Photo Restoration tool and drag in your scan. That's it. The AI figures out what's damage and what's image, then rebuilds the damaged parts.
It works on fading, scratches, creases, water stains, yellowing, and mold spots. For most old family photos, the kind that's been sitting in a shoebox or stuck to an album page, one pass gets it done.
A couple things worth knowing:
- • Run it more than once. AI results vary between runs. If the first try has a weird artifact on someone's face, go again. The second or third pass often nails it.
- • Don't crop first. The AI uses the edges and background for context. Cropping removes info it needs.
- • Bigger scans = better results. A 600 DPI scan gives the AI 4x more data than 300 DPI.
For really messed up photos, think big tears, missing chunks, or faces half gone, the basic restore tool might not be enough. Download the result and open it in the AI Image Editor. You can tell it exactly what to fix: "repair the torn corner" or "rebuild the left side of the face." More work, but more control.
Step 3: Add Color to Black & White
If your photo is black & white or sepia, you can colorize it after restoring. The order matters. Always fix the damage first, then add color. Scratches and stains throw off the color AI and you get weird patches.
Open the AI Photo Colorizer and upload your restored image. The AI picks colors from context: skin tones, sky, grass, clothing patterns. It gets it right more often than you'd expect.
Restored B&WColorizedIf a specific color is wrong, say the AI turned a blue dress red, open the result in the Image Editor and tell it "change the dress to blue."
Step 4: Upscale for Printing
Old photos are small. That wallet-size print from 1975 might scan at 800x600 pixels. That's fine for texting to your cousin, but not enough for an 8x10 on the wall.
The AI Image Upscaler doubles or quadruples the resolution while keeping things sharp. Upload your restored photo, pick 2x or 4x, download. Always do this last. Upscaling a damaged photo just makes the damage bigger.
The Full Workflow
Restore, colorize, upscale. All free.
Restoring a Whole Album
If you've got a box of 50 or 100 photos, don't try to power through them all at once. Scan 20 at a time, do the easy ones first (fading and light scratches), and set the rough ones aside. Most lightly damaged photos take 30 seconds each, so you can clear 50 in an afternoon.
Keep your files organized: separate folders for original scans, restored versions, and finals. Don't throw away the original scans. Restoration AI keeps improving, so you may want to reprocess them in a year or two.
When AI Won't Be Enough
AI restoration has limits. If half a face is torn off, the AI will fill it in, but it's guessing. The result looks like a real person, just maybe not that person. The same goes for photos that are almost entirely destroyed. If there's barely any image data left, there's not much to work with.
For the truly irreplaceable ones, like the only photo of a grandparent or a wedding portrait with severe damage, it's worth paying a human restorer who can reference other photos of the same person. Use AI for the other 95% of your collection and save your budget for the photos that really need a human.
Quick Tips
- • Save restored photos as PNG. JPEG loses quality every time you save it
- • For printing, make sure the image is at least 300 DPI at print size (upscale if not)
- • Back up your restored files to cloud storage
- • Share them. Restored photos sitting in a folder help nobody. Send them to family and print a few for the wall
Those Photos Won't Restore Themselves
Pick one photo tonight. The worst one in the box. Scan it, upload it, see what comes back. 30 seconds, free.
No credit card • No sign-up • Keep your photos forever
Frequently Asked Questions
How long does AI photo restoration take?
About 10-30 seconds per photo. The full workflow with colorization and upscaling adds a couple more minutes.
Can I use my phone instead of a scanner?
Yes, but scans give better results. If you're using your phone, get Google PhotoScan. It removes glare and fixes perspective automatically. A regular camera photo usually has uneven lighting that makes restoration harder.
Should I restore first or colorize first?
Restore first. Scratches and stains confuse the colorization AI. Fix the damage, add color, then upscale.
What kind of damage can AI fix?
Fading, scratches, creases, water stains, yellowing, mold spots, low resolution. It handles light-to-moderate damage well. Severe damage like missing faces gets reconstructed, but the AI is filling in gaps, so it won't be a perfect likeness.
Is it actually free?
Yes. The restore tool is free with no sign-up. Colorization and upscaling are free too with daily credits. A free account gets you more credits.
Ready to Transform Your Photos?
Join thousands of users creating amazing AI-generated photos with BestPhoto