Face Reference
Use reference images to guide facial features in generations
Quick & Easy Alternative
Face reference provides an instant way to guide facial features without training a custom model. Simply upload a photo and adjust the strength to control how closely the AI follows the reference.
Face Reference in Action
See how face reference works in practice. Watch as we upload a reference image, adjust the strength setting, and generate variations with different prompts while maintaining facial consistency.
How Face Reference Works
1. Upload Reference
Upload a clear photo showing the face you want to reference. The AI will analyze facial features, structure, and characteristics.

2. Adjust Strength
Set the reference strength from 0.1 to 1.0. Higher values create closer resemblance, lower values allow more creative freedom.
3. Generate Images
Write your prompt and generate images. The AI will incorporate the facial features from your reference while following your prompt.
Understanding Strength Settings
The strength setting controls how closely the AI follows your reference image. Different strengths work better for different use cases and creative goals.
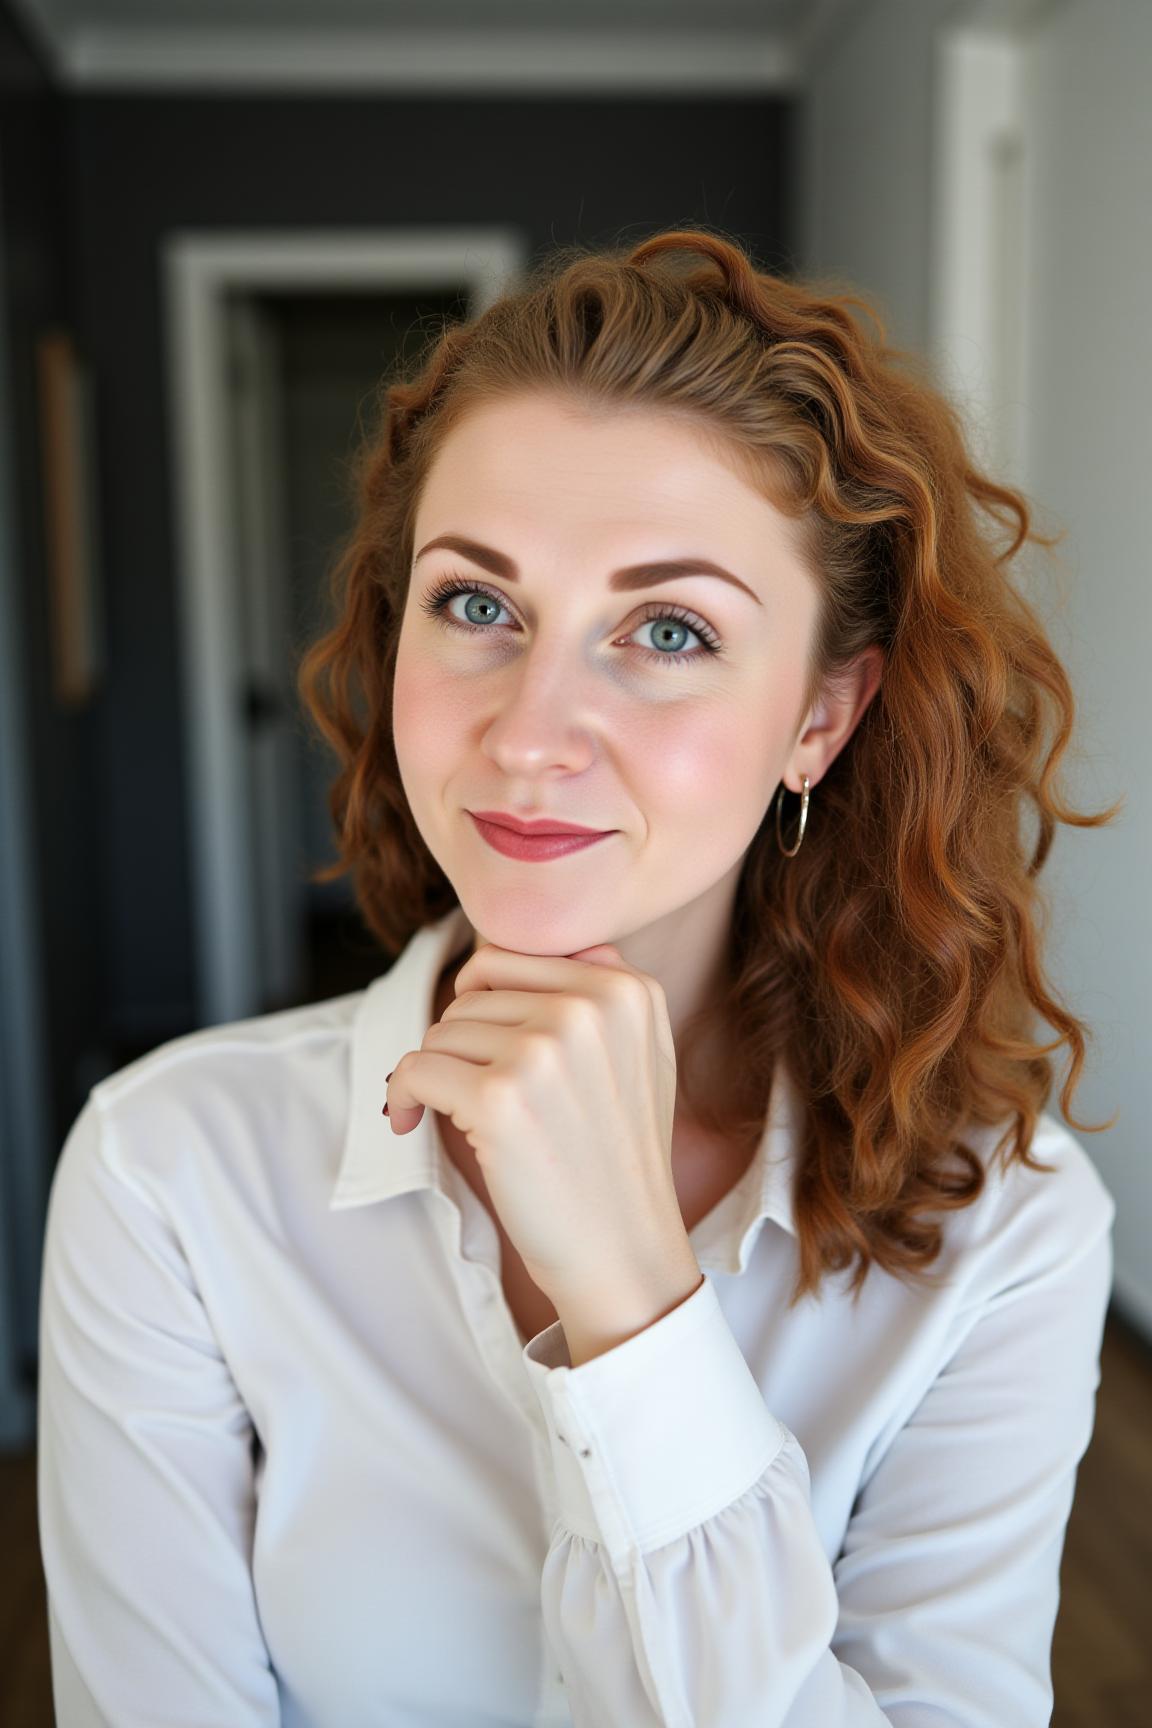
Subtle influence, more creative freedom
Best for:
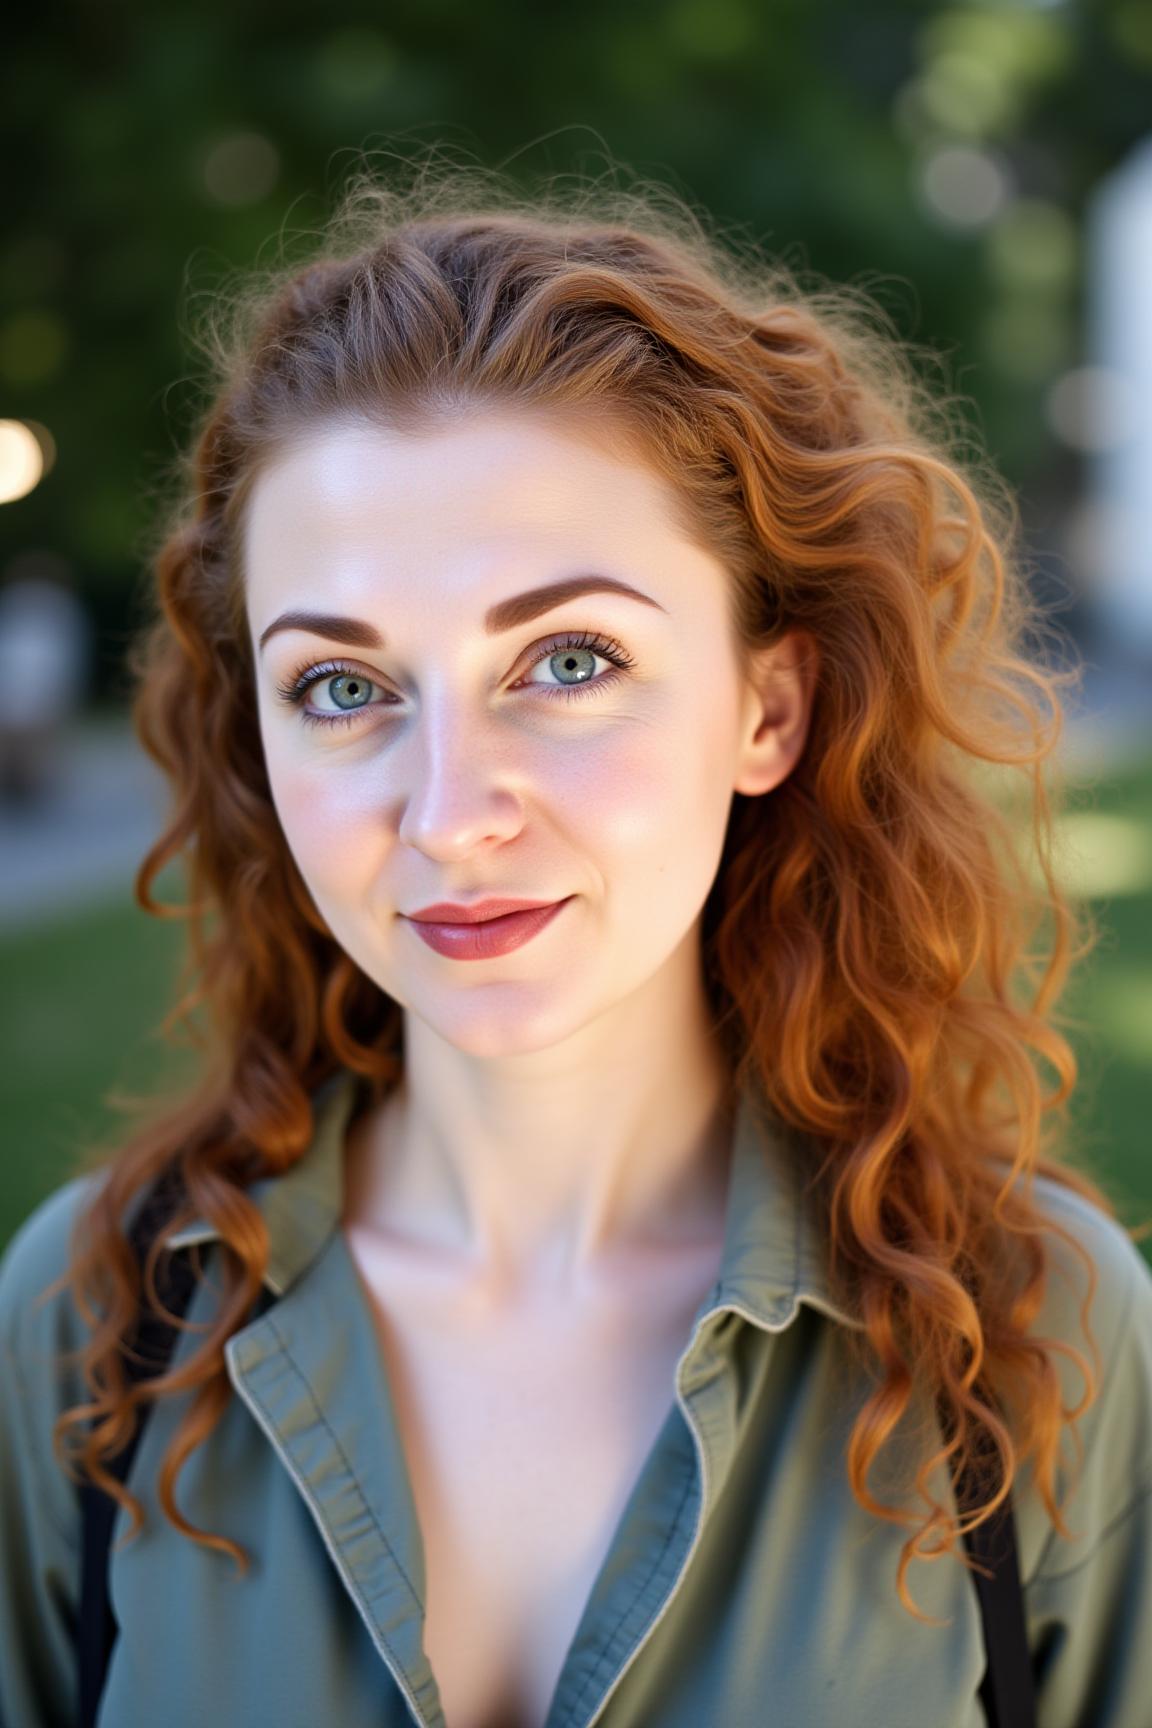
Balanced facial guidance and creativity
Best for:
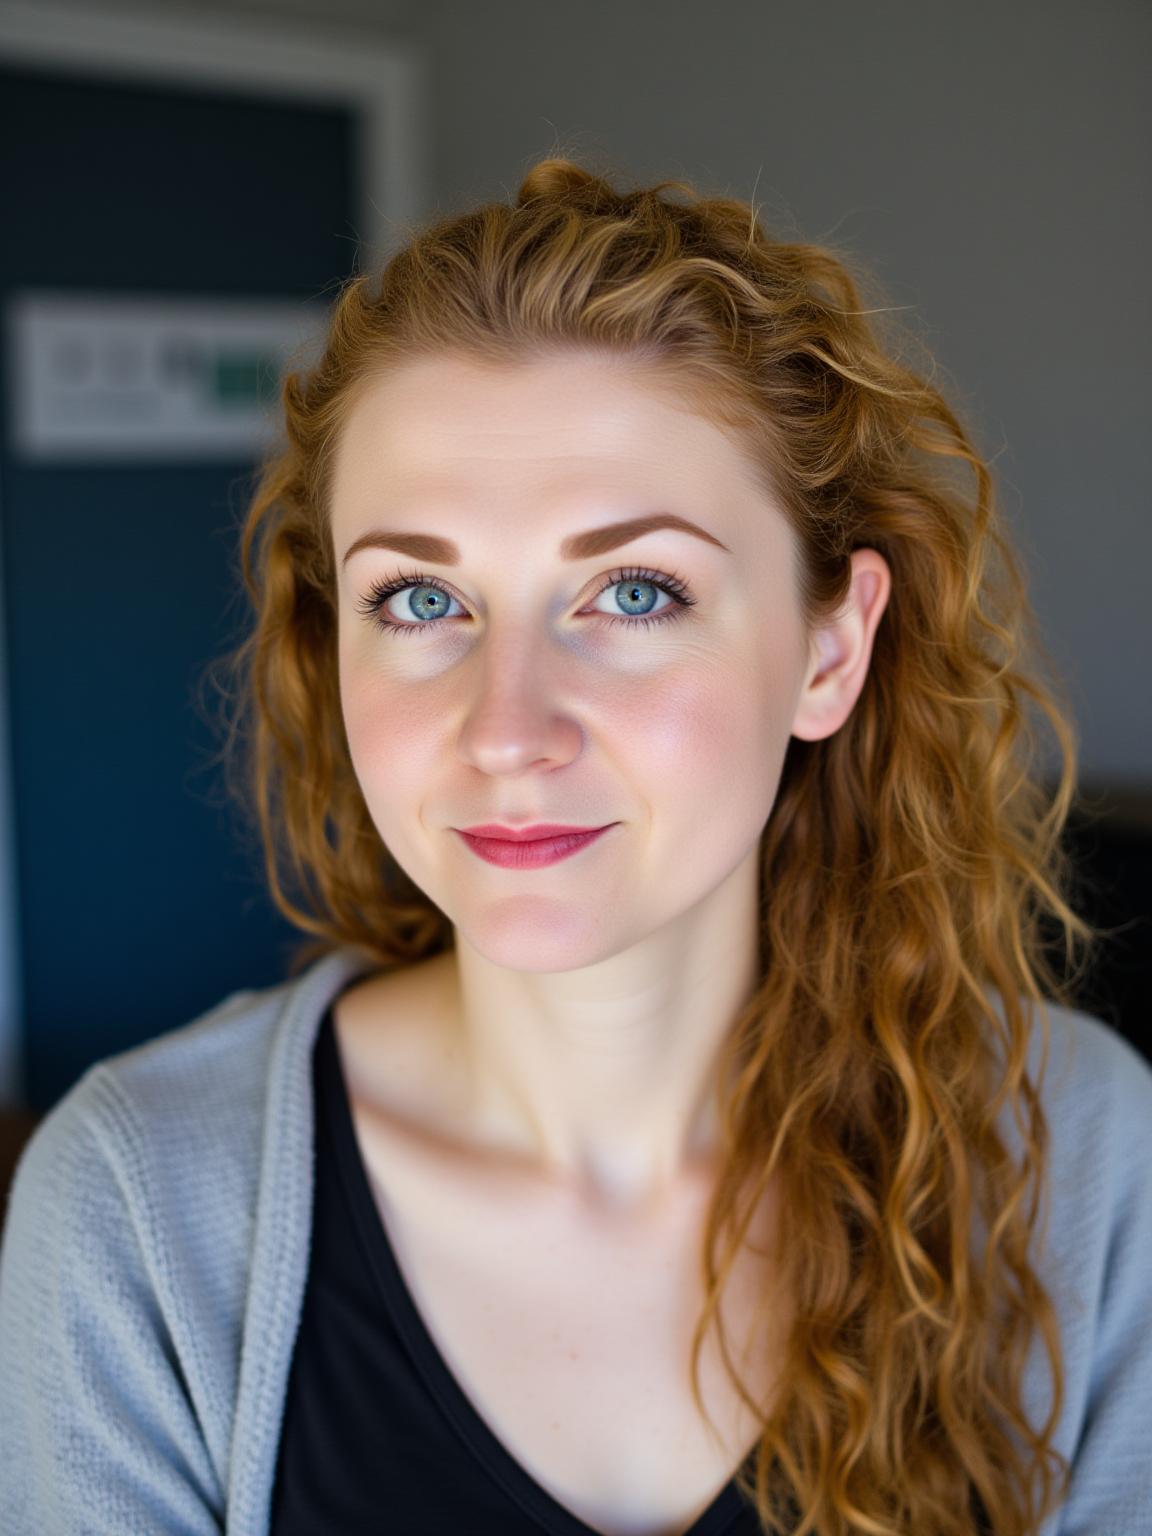
Strong facial resemblance, recommended default
Best for:
Example Results at High (0.8):
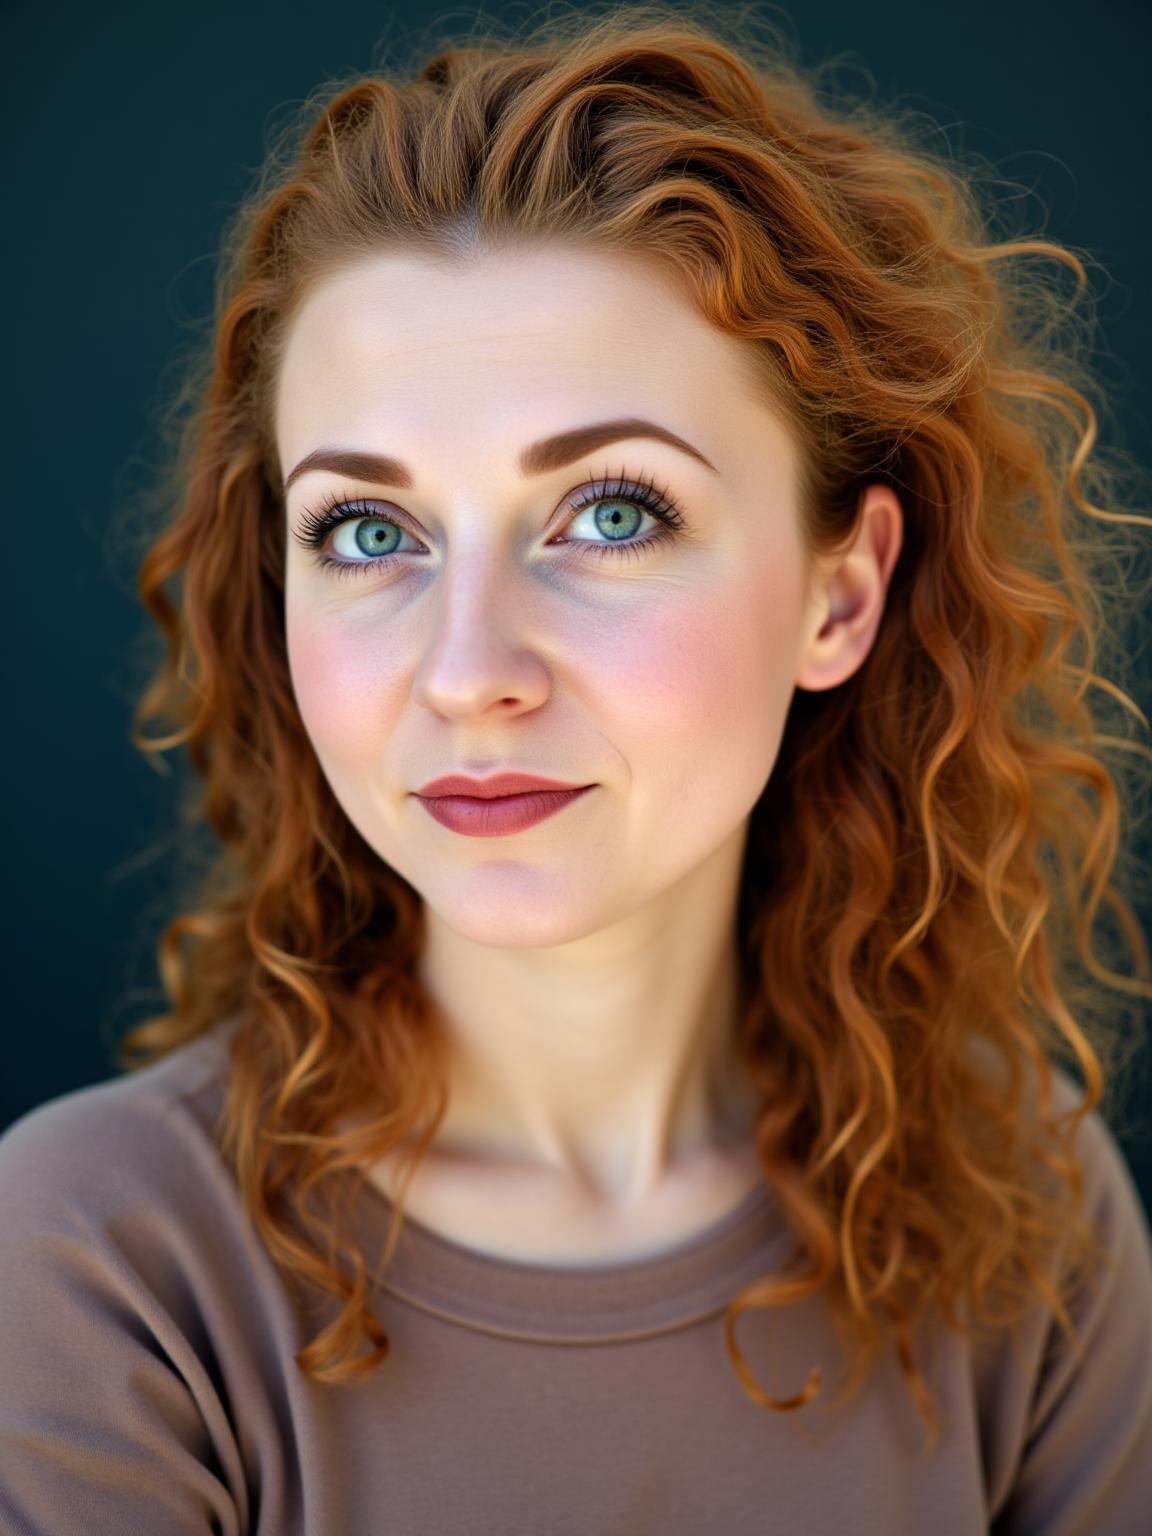
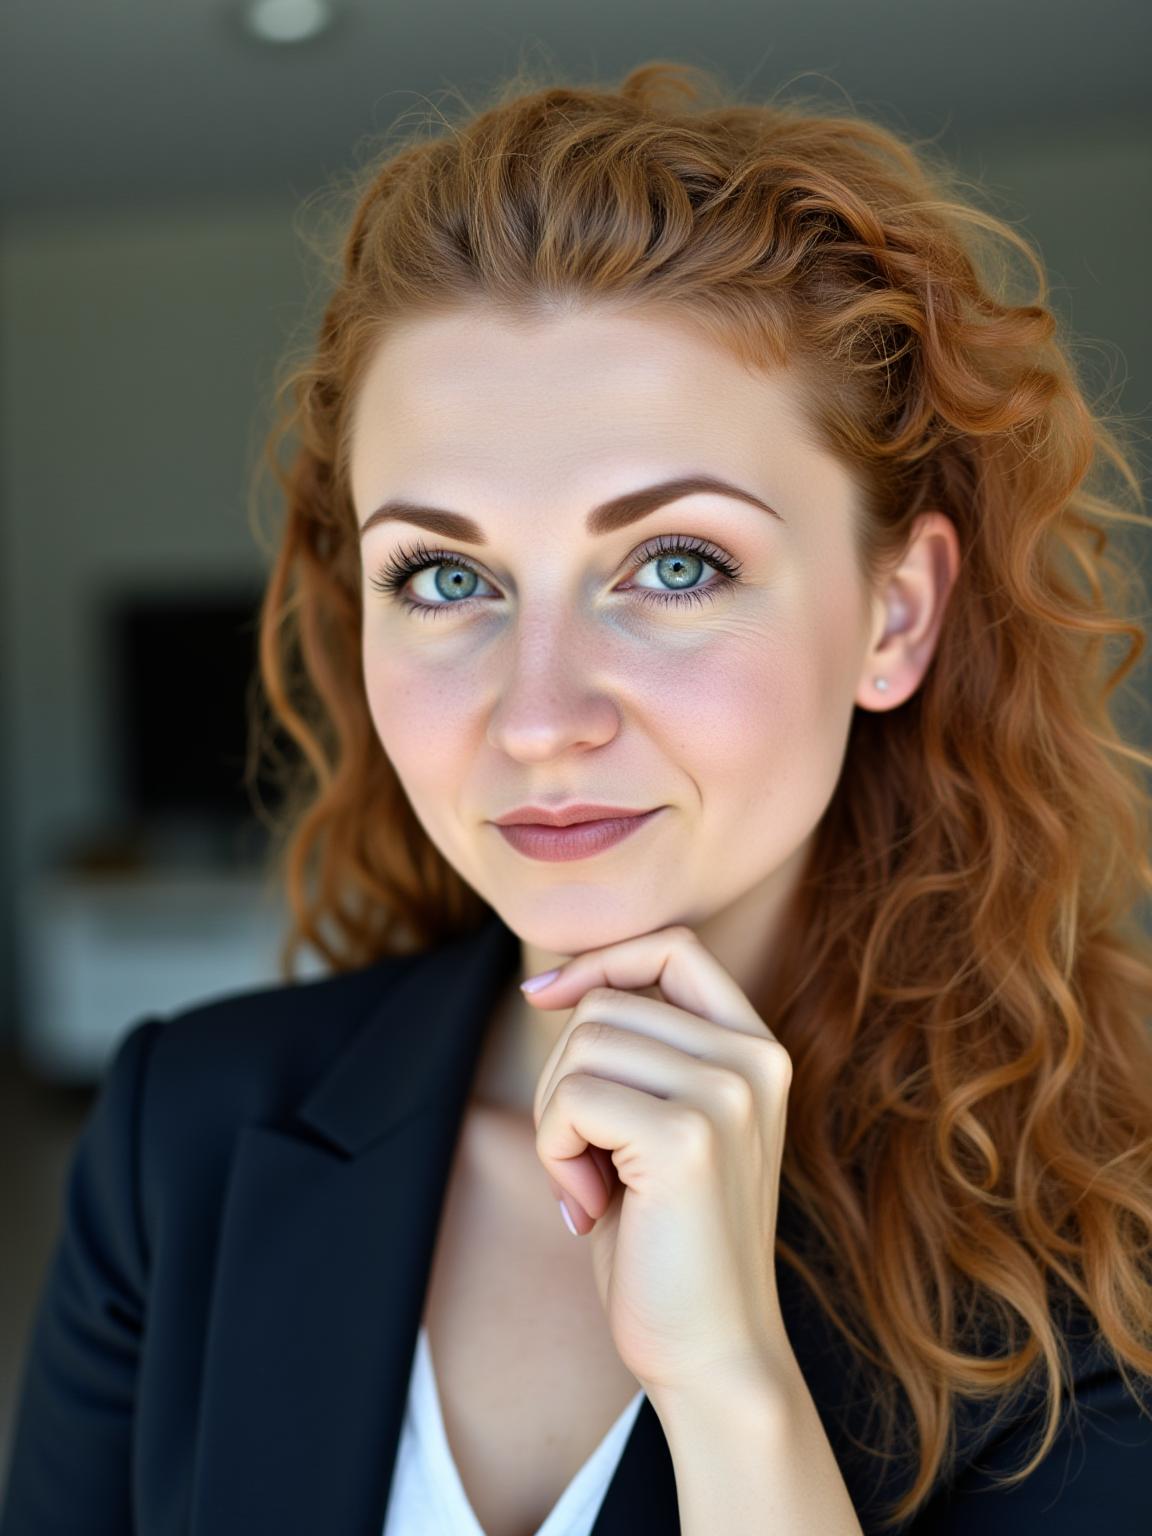
Strongest influence, most accurate to reference
Best for:
Reference Photo Requirements
The quality of your reference image directly impacts the results. Follow these guidelines for the best face reference performance.
Clear Face Visibility
Face should be clearly visible and well-lit
- Front-facing view preferred
- Good lighting
- Minimal shadows
High Resolution
Use high-quality images for better results
- At least 512x512 pixels
- Sharp, not blurry
- Good detail
Single Person
Reference image should contain only one person
- Solo portraits work best
- Avoid group photos
- Clear subject focus
Good Reference Photos
- • Clear, well-lit facial features
- • High resolution (512px+ recommended)
- • Front-facing or slight angle
- • Single person in frame
- • Minimal shadows or obstruction
Avoid These Issues
- • Blurry or low-resolution images
- • Heavy shadows covering the face
- • Sunglasses or face coverings
- • Multiple people in the photo
- • Extreme angles or side profiles
Face Reference vs Trained Models
Both methods can create personalized images, but they have different strengths and are suited for different use cases. Here's a detailed comparison to help you choose.
| Feature | Face Reference | Trained Models | Winner |
|---|---|---|---|
| Setup Time | Instant upload | 20-40 minutes training | Face Ref |
| Image Quality | Good quality | Superior quality | Trained |
| Facial Accuracy | Good resemblance | Excellent resemblance | Trained |
| Consistency | Variable results | Very consistent | Trained |
| Ease of Use | Simple upload | Multiple photos needed | Face Ref |
| Cost | Same credit cost | Same credit cost | Tie |
Choose Face Reference When:
- • You need results immediately
- • Testing different concepts quickly
- • One-time or occasional use
- • Working with someone else's photo
- • Don't have multiple photos available
Choose Trained Models When:
- • You need the highest quality results
- • Planning to generate many images
- • Want maximum facial accuracy
- • Have time for the training process
- • Professional or commercial use
Best Practices for Face Reference
💡 Optimization Tips
- • Start with strength 0.8 and adjust from there
- • Use high-quality reference photos
- • Test multiple prompts with the same reference
- • Generate multiple variations for best results
✓ Prompt Writing
- • Write detailed descriptions of the scene
- • Include lighting and style preferences
- • Specify clothing and background details
- • Use quality terms like "professional" or "high quality"
⚡ Efficiency Tips
- • Save good reference photos for reuse
- • Experiment with different strength values
- • Use batch generation for variations
- • Keep notes on what works best
🎯 Creative Applications
- • Create character variations for storytelling
- • Generate professional headshots
- • Experiment with different art styles
- • Create consistent characters across scenes
Troubleshooting Common Issues
Results don't match the reference well
- • Try increasing the strength setting (0.9-1.0)
- • Use a clearer, higher quality reference image
- • Make sure the reference shows the face clearly
- • Simplify your prompt to focus on the essentials
Generated images look too similar or stiff
- • Lower the strength setting (0.3-0.6)
- • Add more creative elements to your prompt
- • Try different angles or expressions in prompts
- • Generate more variations to get diverse results
Face reference not working at all
- • Make sure you've uploaded the reference image
- • Check that strength is set above 0.1
- • Verify the image shows a clear human face
- • Try a different reference photo
Ready to Try Face Reference?
Now that you understand how face reference works, you're ready to start creating personalized images instantly. Upload a reference photo and experiment with different strength settings.