How to Fix a Torn Photo (and Why Not to Tape It)
Don't tape it. Keep every piece, scan them together and fix the copy. Old tape yellows and stains for good. Already taped? Here's what to do instead.
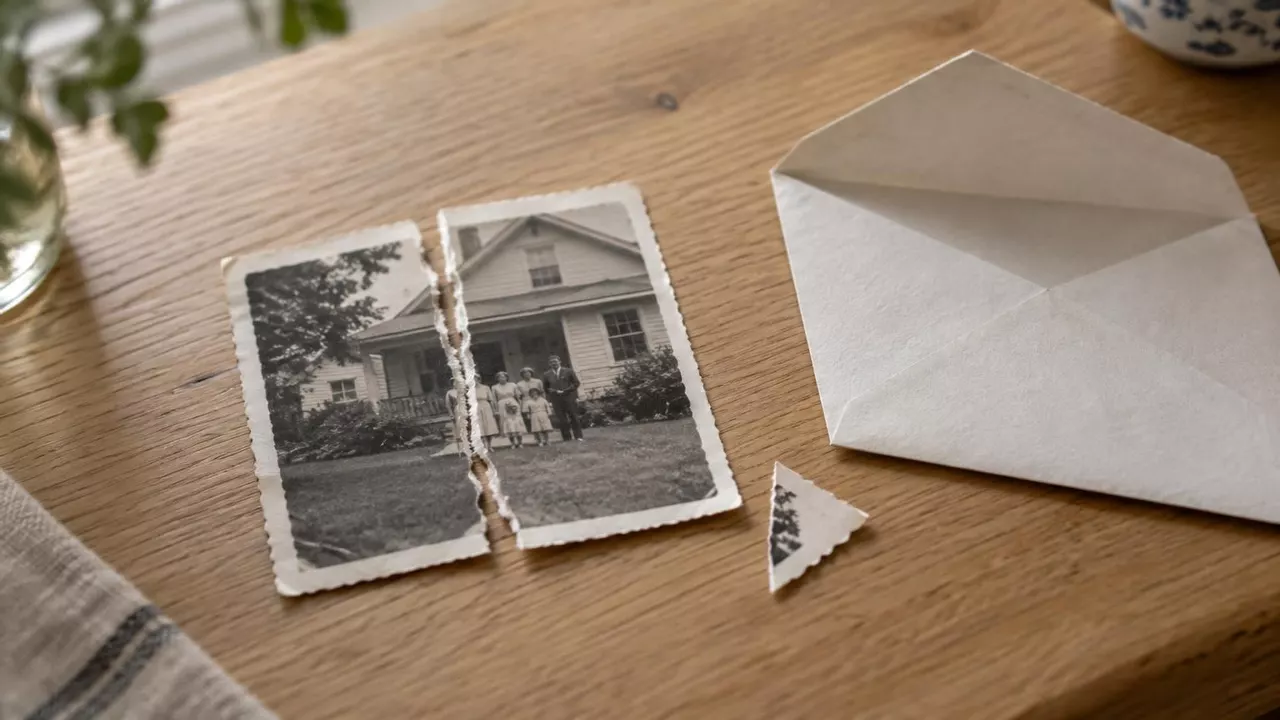
It lived in a wallet for twenty years, folded once, until the fold gave way. Somebody fixed it with a strip of Scotch tape, and now the tape is the color of weak tea.
The short answer: don't tape it, and if it's already taped, leave the tape alone. The repair happens on a scanned copy, never on the photo itself.
The short version
- 1. Put the tape down. Every piece goes in a paper envelope, even the tiny corner.
- 2. Scan the pieces together, face down, edges touching.
- 3. Fix the copy. A restorer closes the tear in seconds. The original stays as it is.
Why tape does more harm than the tear
A clean tear is stable. The two edges just sit there. Tape is the part that keeps changing.
With old cellophane and masking tape, conservators have watched it happen in stages. For a while nothing much changes. Then the glue goes soft and oily and starts to yellow, soaks right through the paper, and finally hardens into a brown stain that can be impossible to remove, sometimes after the tape itself has fallen off (American Institute for Conservation).
Newer clear tapes yellow less, but they don't get you off the hook. The Library of Congress says to skip self-stick tape on photos even when it's labeled archival, because it's hard to remove and “often creates condition problems over time” (Library of Congress). It lumps glue in with tape, too.
So the best thing for a torn photo is boring: a paper envelope with every piece inside, kept flat and dry.
Already taped? Leave it alone
It's tempting to peel it. Please don't. Once the glue has soaked in, pulling the tape off leaves the stain behind, and scraping or dabbing solvent on it can scar the picture for good.
Even conservators find this hard. In a 2024 study on taped photos, they note that scalpels leave tiny scratches and solvents can soak in and do severe damage, so they tested special gels instead. That's not a kitchen-table job.
You don't need the tape gone anyway. Scan the photo as it is, tape and all. On the copy, the yellow band is just one more stain for a restorer to clean up, and if the photo is truly precious, a conservator can still treat the original later.
Keep the torn original as it is. The healed version lives on the copy.
How to scan torn pieces as one photo
Scan each piece on its own and you're left lining them up on a screen. Put them together on the glass and the restorer sees one photo with a crack through it, which is exactly what it's good at.
- 1Clean the glass. Wipe the scanner bed with a soft cloth so the restorer has only the tear to fix.
- 2Lay the pieces face down. Push them together gently until the edges meet, the way they were before. Small gaps are fine. Don't force a curled edge flat.
- 3Close the lid slowly, or lay a sheet of paper on top. Light weight keeps the pieces from shifting without pressing on them.
- 4Scan once, at 600 dpi. One file, with every piece in it. For a wallet-size print or smaller, use 1,200.
No scanner? Lay the pieces on a dark, flat surface and cover them with a clean sheet of glass from a picture frame to hold them in place. Shoot straight down in soft daylight, with no lamp behind you. For tiny prints, see what DPI to scan photos, and for a whole box of them, the shoebox scanning guide.
What the repair looks like
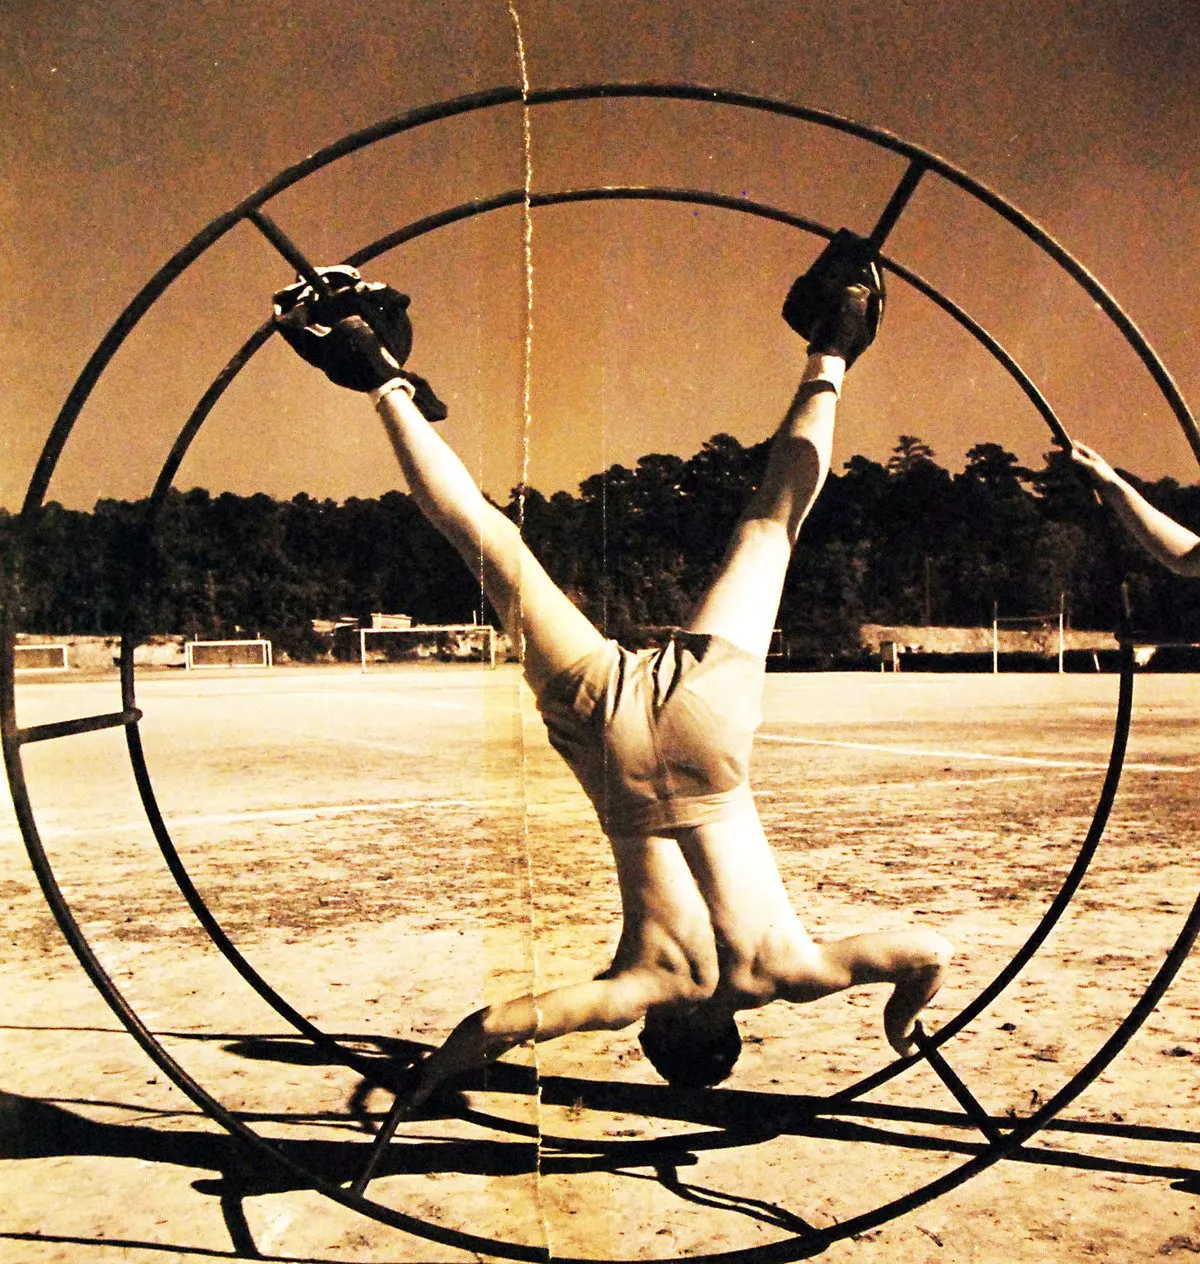
Tears, creases and scratches are what a restorer does best. Here's a 1942 Navy print split from top to bottom, through the sky, the steel wheel and the dirt. We ran it once through our photo restorer on “Restore only”.

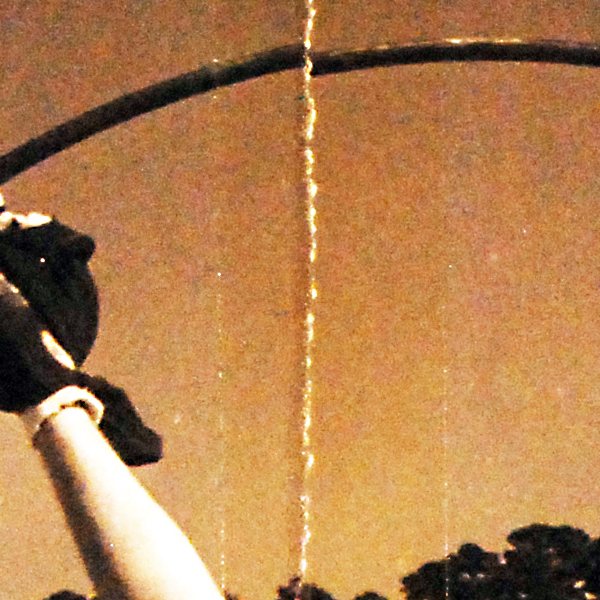
The split, up close
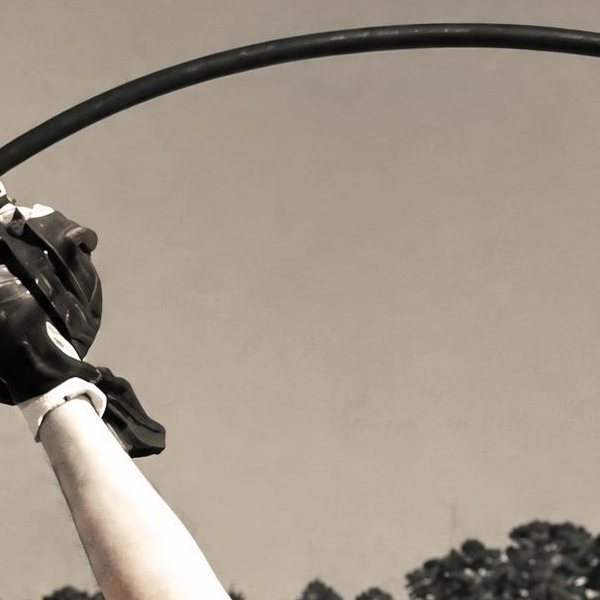
After the restore
The line is gone, and so are the specks. “Restore only” also took out the brown tone, so the print came back a neutral black and white. Worth knowing before you print, if you liked the warm color.
It also helps that the split runs through sky and dirt. The man's face is turned away, so there was no face to get wrong.
When the tear runs through a face
A tear that only cracks a face is usually fine, since the face is all still there. A missing piece is different. As a FamilySearch guide to photo repair puts it, “missing information in the photo cannot be restored” (FamilySearch). Any restorer, human or AI, has to invent what was on that scrap. The same goes for a face hidden under a dark tape stain: the AI draws a new one.
So look for the corner first. Check the envelope, the wallet, the back of the frame. If it's really gone, dig out another photo of the same person from around the same time. It's the only honest reference to hold the repair up against. Then ask someone who knew them. Here's how to check a restored face.
You can try the photo restorer free without an account. Free results are a watermarked preview, fine for checking the repair and showing family. Clean, full-size downloads come with any paid plan, from $14 a month.
Close the tear on your copy
Upload the scan with every piece in it and watch the tear close on the copy.
Images: “Using exercise wheel at Pre-Flight School, Chapel Hill, North Carolina, November 1942”, official U.S. Navy photo 80-G-27208, National Museum of the U.S. Navy, Wikimedia Commons, public domain; resized and restored by us. The video of the pieces on the scanner is ours, made from the same Navy scan cut along its real split; the scanner is a diagram. The torn snapshot at the top is an illustration made with AI. The taped porch snapshot in the videos is also an illustration made with AI, restored by our tool; the tear, tape, stain and side cut are drawn in code, and the tweezers, phone and light are ours. Videos: ours.
Try it on one of your own photos
Most of our photo tools have a free version. Upload a picture and see what it does before you decide anything.